
Defining Resource Filter Content
Once you have a created a resource filter on page Users - Resource filters, you can define its content by clicking on the filter's name. On the Filter settings page, all the available filter areas are shown:
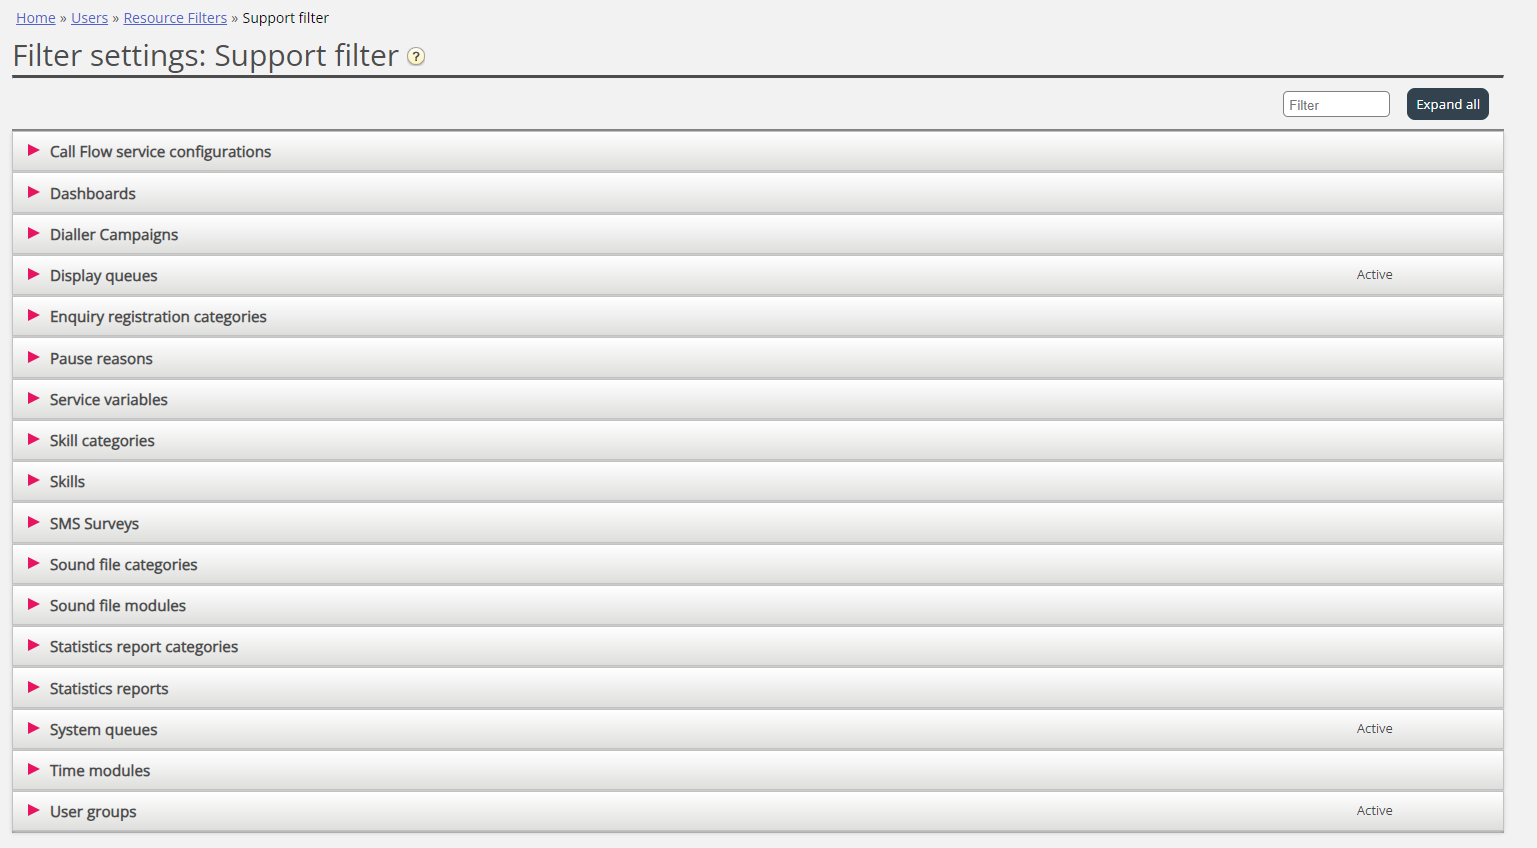
When you click on an area in the resource filter, e.g. Display queues, it opens, and you can see elements already included in the filter (none for a new filter).

To add elements to your filter, click the button to open the window where a list of available elements appears.

To add an element from the list to the filter, simply click on the element (and it disappears from the list containing available elements). When you have added the relevant elements, click x to close the window. The chosen elements will now be shown:

To activate your filter, click in the relevant check-box(es) under Active on, and then save.
A filter area which is checked as Active, will have the text Active to the right in this overview.

When you have activated a filter, you have chosen what elements users will see. For example, by adding 2 display queues to a filter, users will only see these 2 display queues when they have this filter assigned. If no elements are chosen in an active filter, users will see no elements.
Finally, you must apply this filter on a user/user group (Users - Access Control).