Installing the Office 365 connector
The Office 365 connector is a windows service that must be hosted on a machine running windows operating system. To install the connector, double click on the installer file (.msi file) to bring up the wizard.
Follow the steps below to successfully install the office 365 connector.
Step 1:
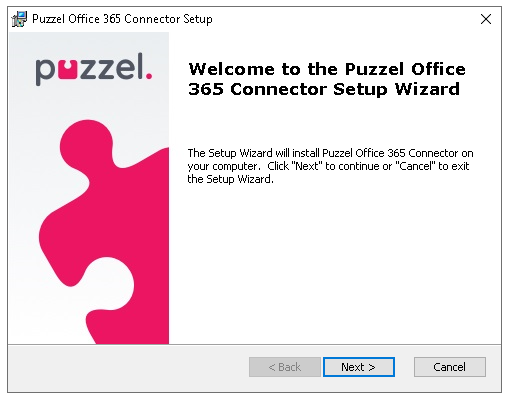
Click Next on the welcome screen to start the installation.
Step 2:
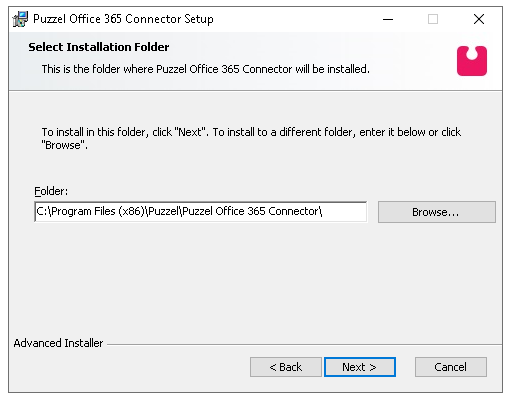
You can save the installed files in the default folder or choose a custom location by clicking on the Browse button and selecting the location of your choice and click Next.
Step 3:
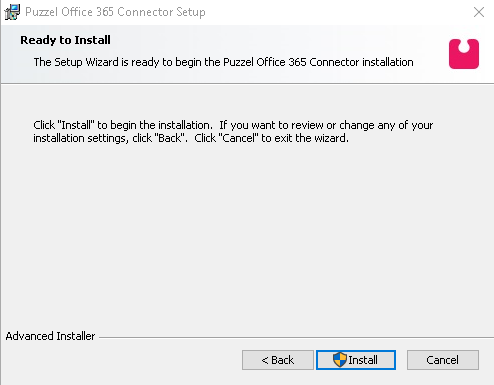
Click on Install to start the installation process. The progress can be seen on the status bar.
Step 4:
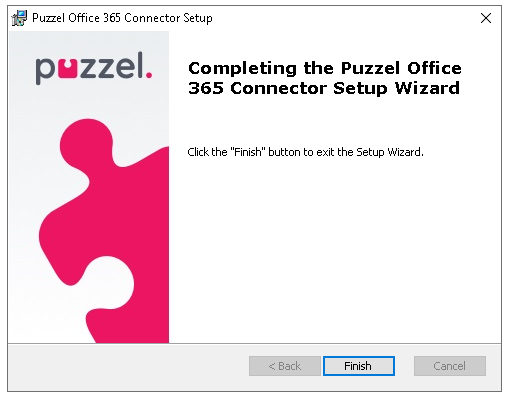
Click on the Finish button to complete the process.
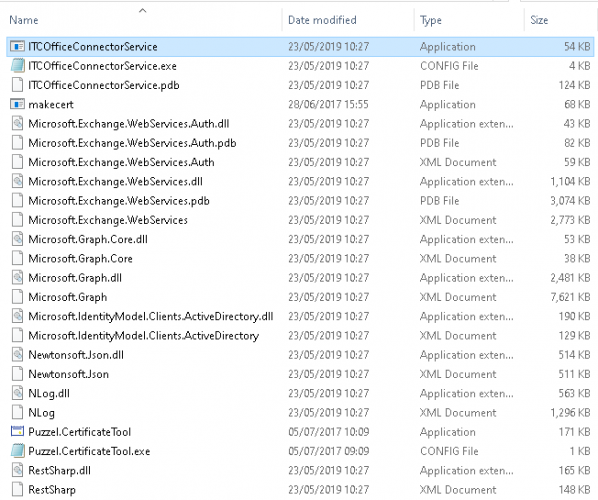
After successful installation, the files will be saved in the location chosen during the process.
A windows services will also be registered as shown in the services window.

