
Creating and importing Canned responses
Please note, this documentation is referring to functionality for which an End of Life has been announced. The announcement can be found here, and the new product documentation is available here.
Canned responses are standard responses to a visitor's query. Agents can speed up their response times by using these standard templates in a chat session and editing it suitably before sending it. Admins can create as many canned responses as required and enable their agents to make use of it during an interaction with the customer.
Creating canned responses
To create a canned response:
- Go to Configure -> Canned responses -> click on the
 icon
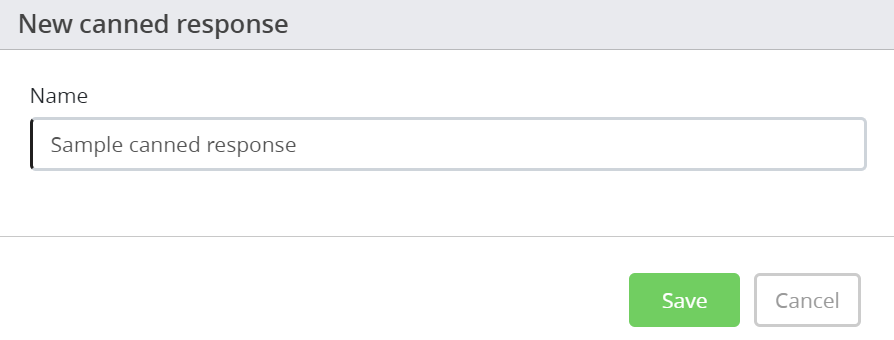
icon Enter a name for the response and click Save

Type in a message template in the message box and describe when to use it, may be, in the Description box.

- Click Save. Press
 icon to go to the list of canned responses.
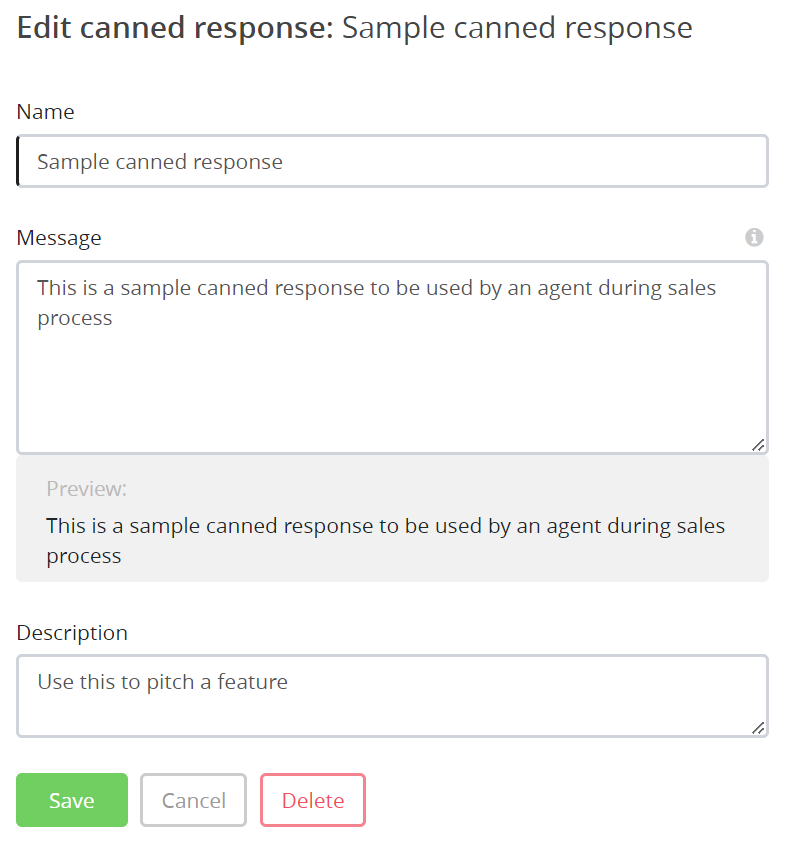
To delete a canned response, type in the name of the canned response in the search tab or find it in the list and click on it to open the details. Click on Delete and confirm your decision.
Importing Canned responses
To bulk import canned responses, go to Configure -> Canned responses -> click on ![]() icon on the right hand side of your screen. You are required to download a CSV template and populate the data first. Then click on the
icon on the right hand side of your screen. You are required to download a CSV template and populate the data first. Then click on the ![]() icon and select Submit to upload the responses.
icon and select Submit to upload the responses.