
How to create your first Search Engine
This guide walks you through setting up and integrating a SupSearch Search Engine—from creation and configuration to training, testing, and embedding it into a bot.
Prerequisites
Before you begin, ensure the following:
- You have access to SupSearch
- You have a data source with articles and either:
- At least 300 total questions or labelled chats, or
- A SupSearch environment with Generative AI enabled
Search Engines Overview
Search Engines are the core of SupSearch. They allow users and customers to search through your knowledge base and retrieve relevant information. With Generative AI, they can also respond in natural language.
Search Engines can be integrated directly into chat systems or deployed as independent search widgets.
Creating a Search Engine
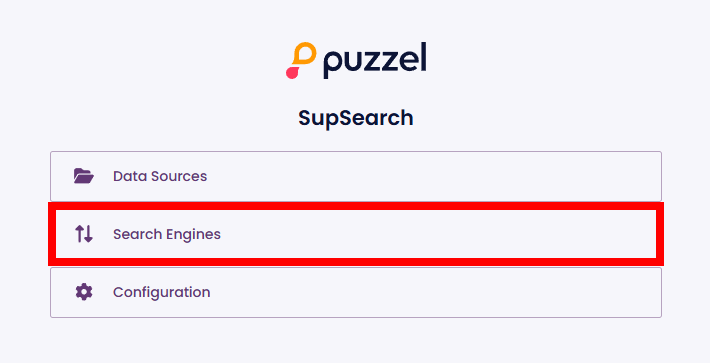
From the SupSearch homepage, click “Search Engines”.
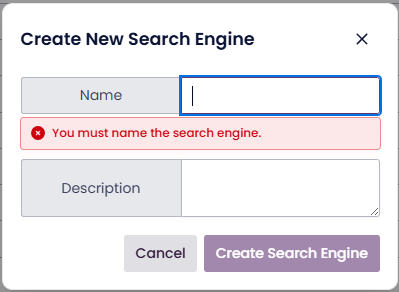
Click “Create Search Engine”.

Provide a name and description, then click “Create Search Engine”.


Setting Up Your Search Engine
After creation, you'll land on the Configuration page. Here, you can adjust how the Search Engine works.
Configuration
For this guide, we'll focus on a basic setup. Most settings can remain at their defaults. However, you must set the correct language to match your data source.
- Select the appropriate language.
Click “Update Configuration” to save changes.


Tip: Hover over any setting to view tooltips for more information.
Connecting Article Training Data
Scroll down to the Article Training Data section.
Click “Add Articles”.

Select your data source from the dropdown.

Click “Add Article Data”.


This imports all available data from the source—including articles, chats, and generated questions.
Filtering Data
To control which data gets used:
- Click the arrow next to your data source.
- Use the filtering panel to:
- Include or exclude specific tags
- Add manual text filters

Training Your Search Engine
With your configuration complete and data connected, it’s time to train your Search Engine.
- Go to the “Versions” tab.
- Click “Train”.
SupSearch will automatically compile the training dataset based on your settings and begin training.
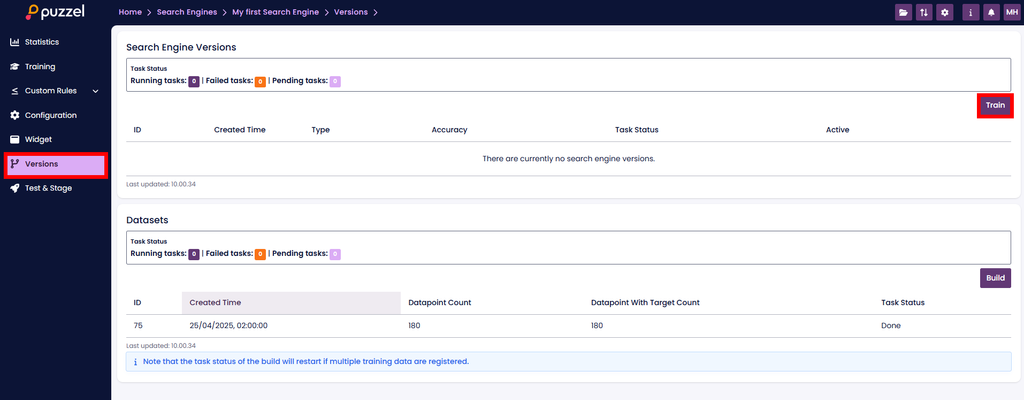
Training time depends on your dataset size and can take several hours.
Once training completes, you’ll see a new version listed with accuracy metrics.

Note: Real-world data may not achieve 100% accuracy. To improve results, focus on increasing the quality and quantity of your training data.
Congratulations! You’ve now trained your first Search Engine.
Testing Your Search Engine
Manual testing ensures the Search Engine performs as expected.
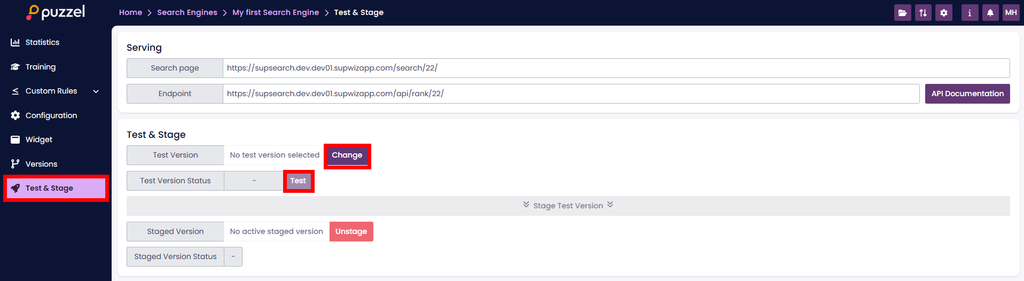
- Go to the “Test & Stage” tab.
- Under “Test Version”, click “Change” and select the version you trained.
After deployment, click “Test”.

Use the test panel to:
- Enter a sample query
- Click “Send” to process the input
- View matched articles and summaries
- (Optional) Enable “GPT reply” to generate natural language responses using Generative AI
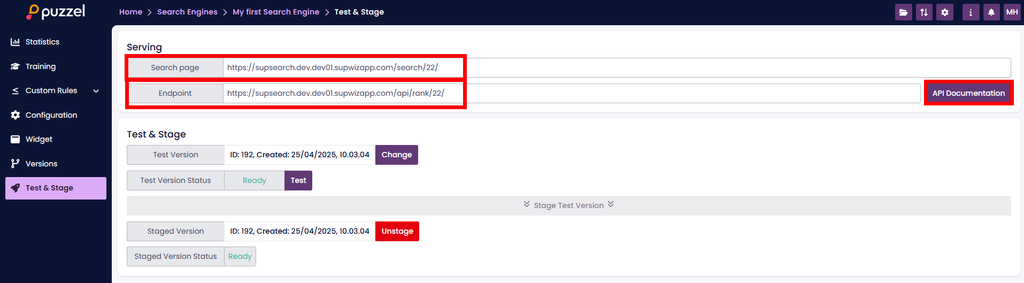
Staging Your Search Engine
After testing, you can make your Search Engine available for real use.
- Click “Stage Test Version” to promote it to the live environment.
- Use this same process to stage new versions when making future updates.

You’ll find endpoint URLs and API documentation at the top of the page.
Your Search Engine is now ready to be integrated into your application.
Adding Your Search Engine to a Bot
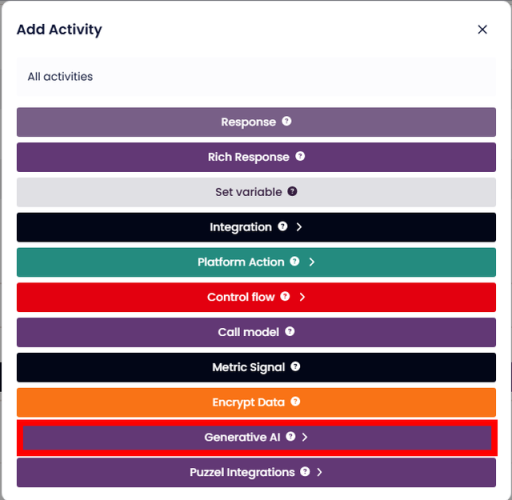
SupSearch Search Engines can be embedded directly into bots using the “Generative AI reply” action.
Navigate to a bot node.

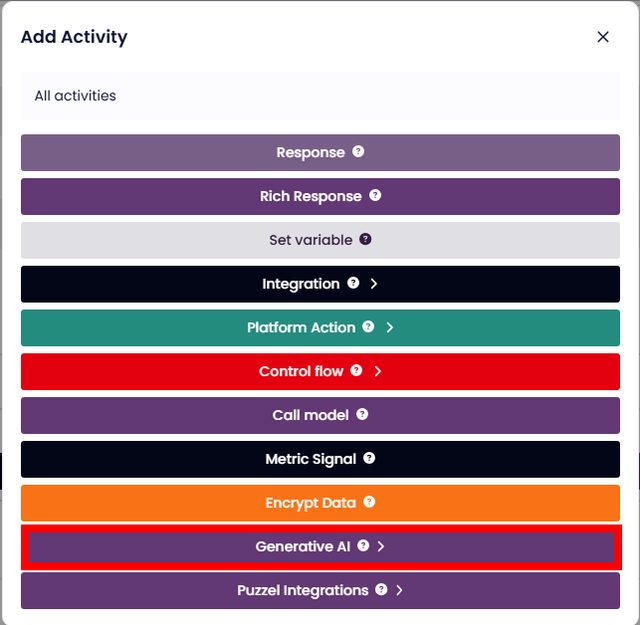
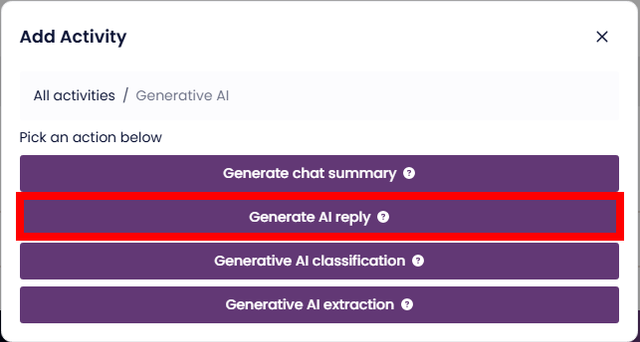
Click “All activities” → “Generative AI” → “Generative AI reply”.

- On the configuration screen:
- Set “Select context” to “Search Engine”
Choose your trained Search Engine
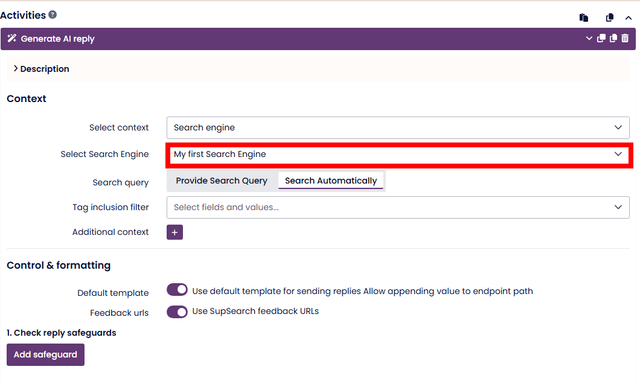

The configuration panel includes additional settings:
- Enable safeguards to reduce hallucination
- Control the tone, behavior, or limits of the reply
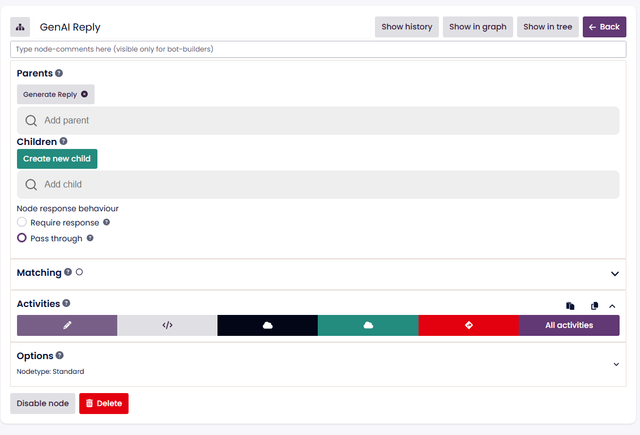
Once configured, the bot will use the selected Search Engine to generate an answer when reaching that node.
You’ve now successfully created, trained, tested, and connected your first SupSearch Search Engine.