Creating groups for booked meetings
Please note, this documentation is referring to functionality for which an End of Life has been announced. The announcement can be found here, and the new product documentation is available here.
To create groups for booked meetings,
- Go to Configure -> Groups and click on the
 icon
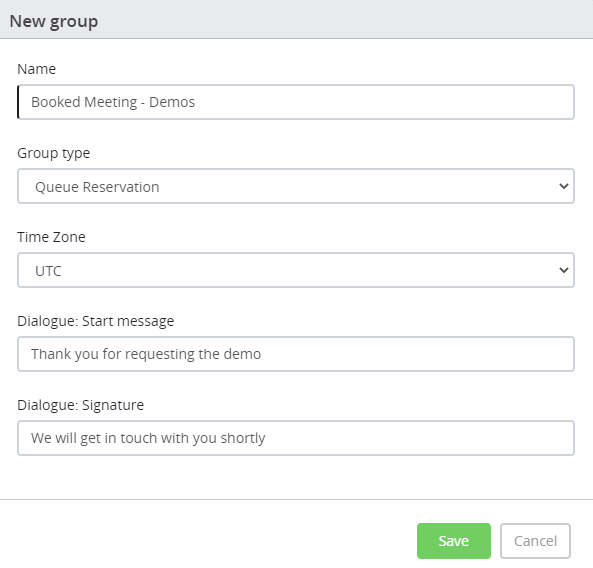
icon Enter the name of the group and select Queue Reservation as the Group Type
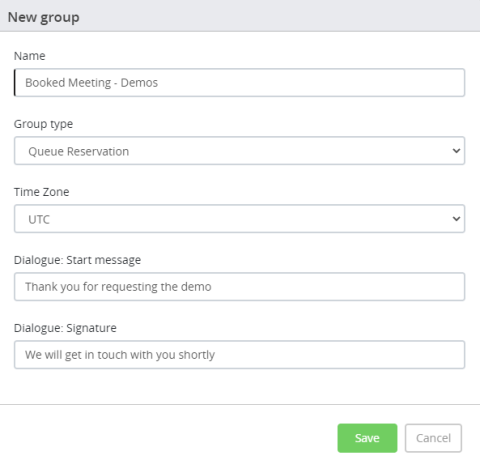
- Enter the Start or welcome message and signature message as required. Click Save before proceeding to the next tab
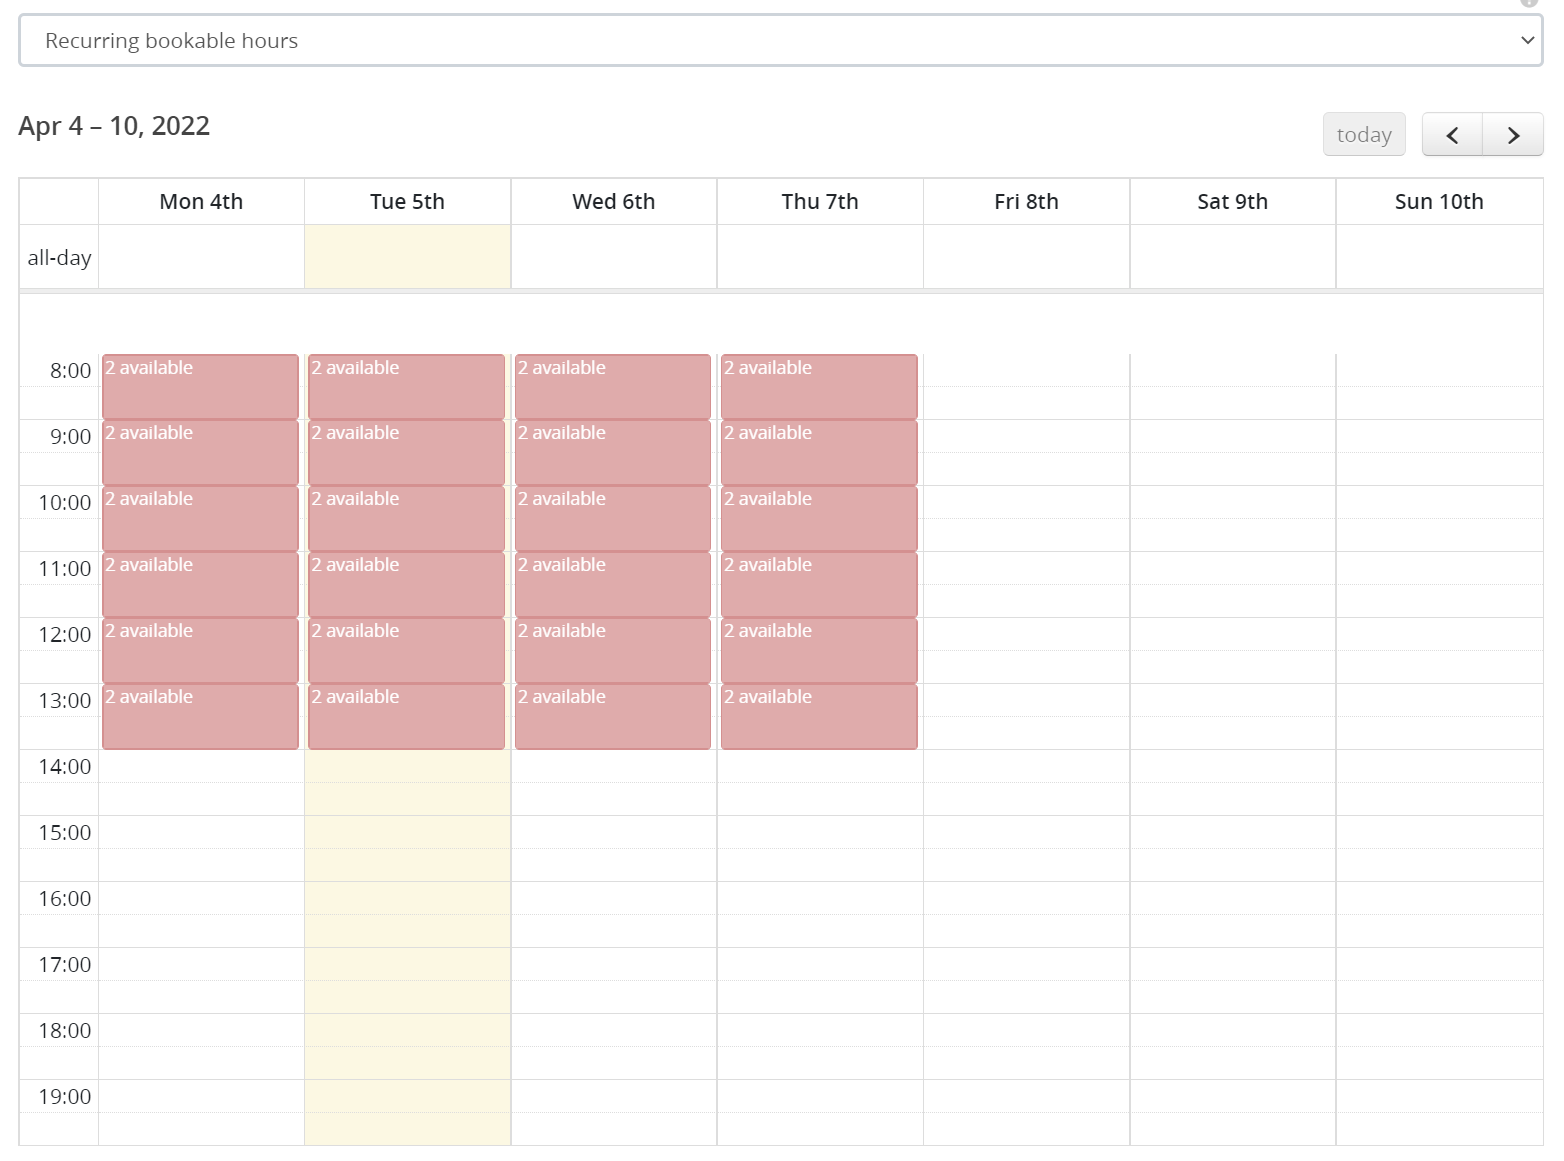
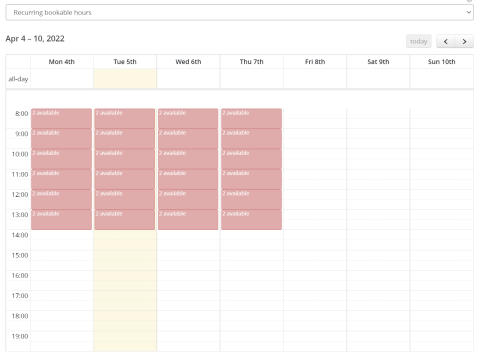
- Go to Bookable hours tab to view recurring bookable hours by selecting the option from the drop down menu. To manage or change the settings for meeting slots, Go to Engage -> Banner and choose the Queue reservation banner you wish to modify.
In the Edit banner window, go to Settings tab. Here you can define the opening hours, change maximum weeks and minimum hours ahead that a visitor can book the meeting, the number of weeks a visitor is able to see in order to book a meeting and other settings.
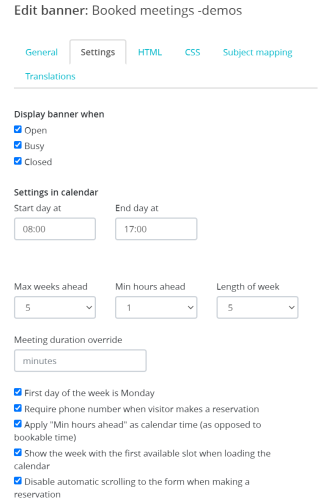
- Click Save before you proceed to other tabs
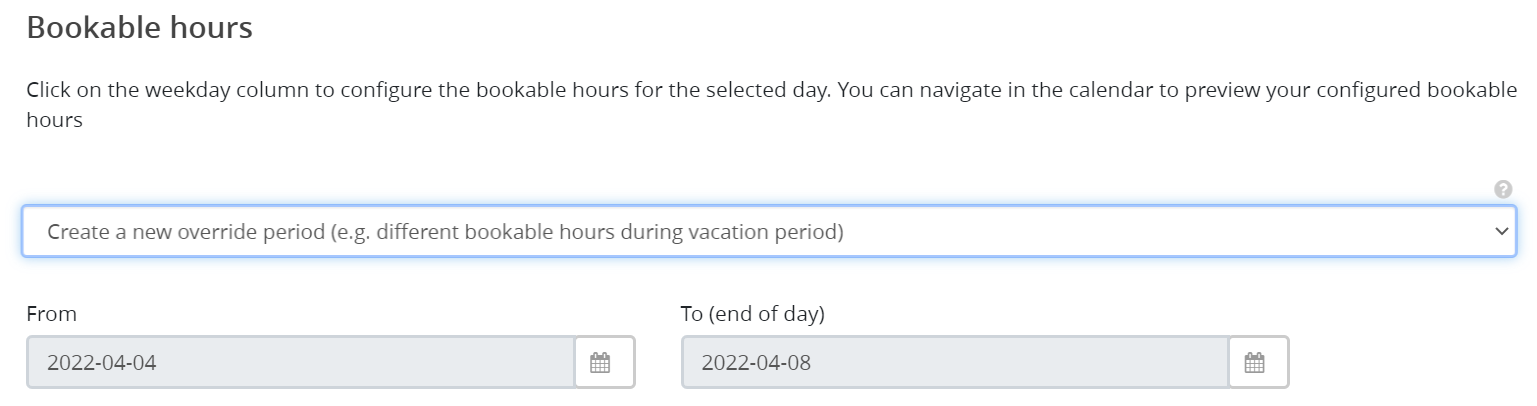
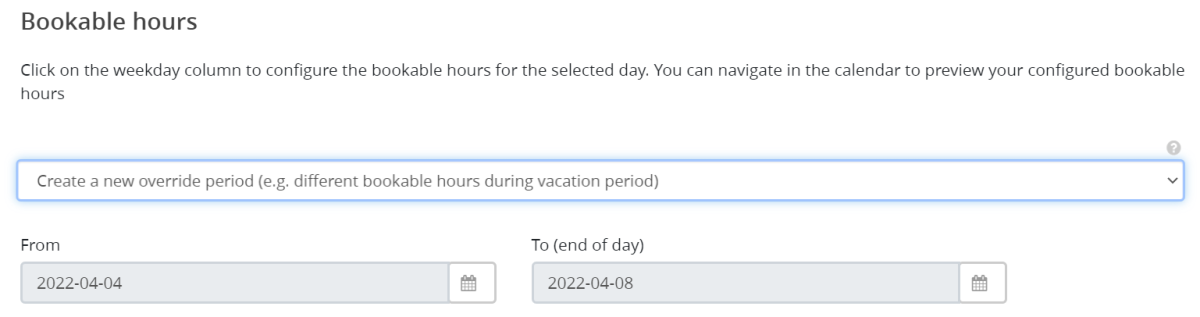
- If you wish to define a interval where you either close booked meetings for a period of time or wish to make changes the opening hours, you can create an override period and modify the dates, hours etc.
Go to Configure -> Groups -> Bookable hours -> Select Create a new override option from the drop down and enter the time frame for which the override must apply
Click on one of chosen dates column to bring up the New override period window. Fill in the checkboxes of the days you wish to make changes in and click on New Block icon.

Enter the time range and click on Add Block button. A new override period will be created.

Click on Preview and Save the configuration to see the override block in your calendar
- Select the users to be part this group by toggling to the Users tab and selecting the users from the list. Click Save.
- Select Case types to be made available to this group and click Save
- Go to Features tab to enable file sharing and allow the agent to start the conversation in Co-browsing mode. Click Save.