
Navigating BotStudio
Navigating BotStudio
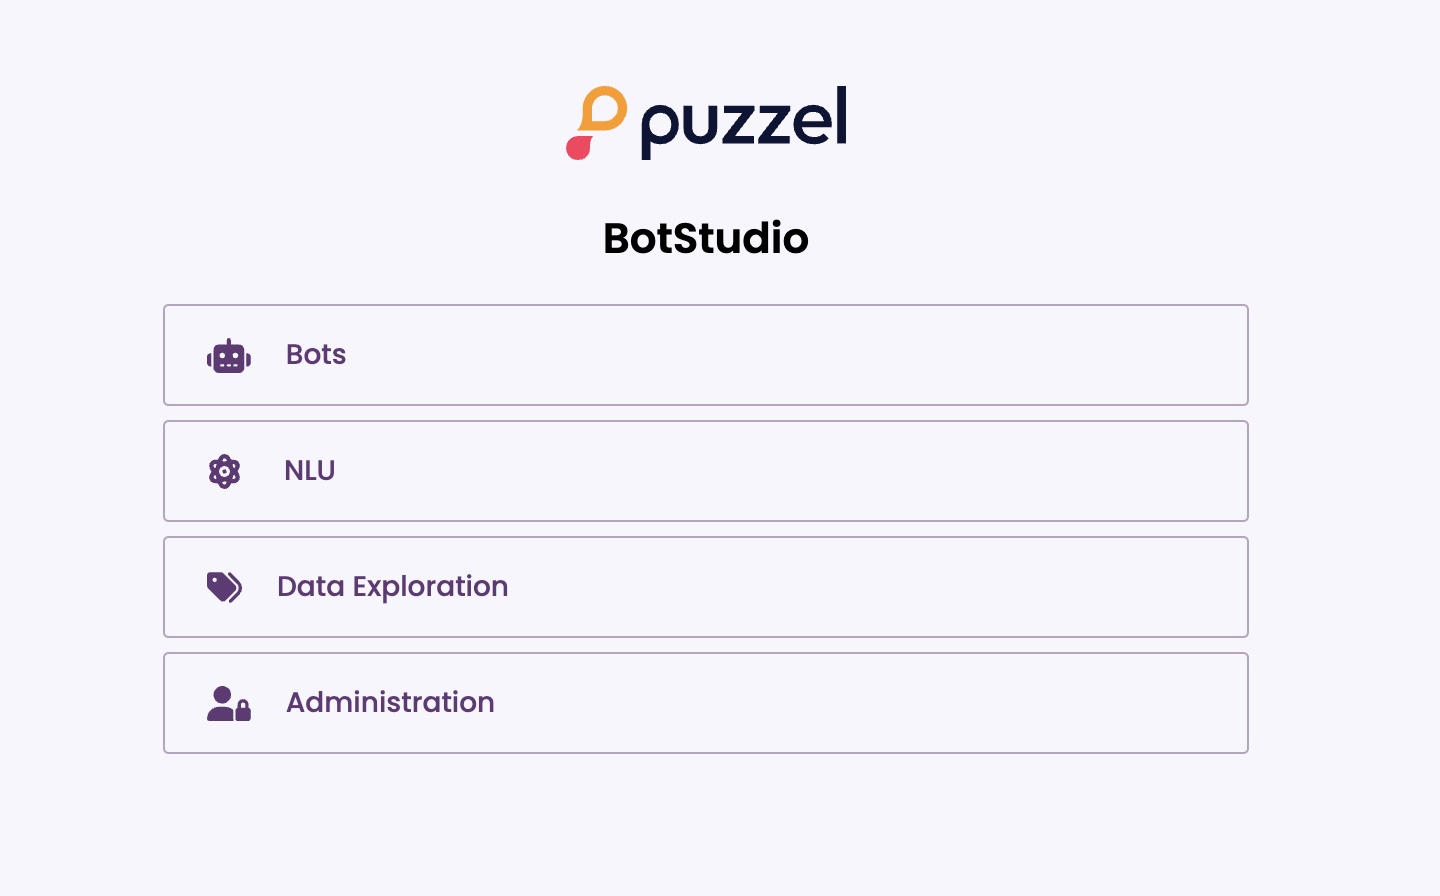
Upon logging into BotStudio, you will be greeted by the welcome page.
To access the main workspace, click on the “Bots” section. From there, you can either create a new bot or select an existing one.
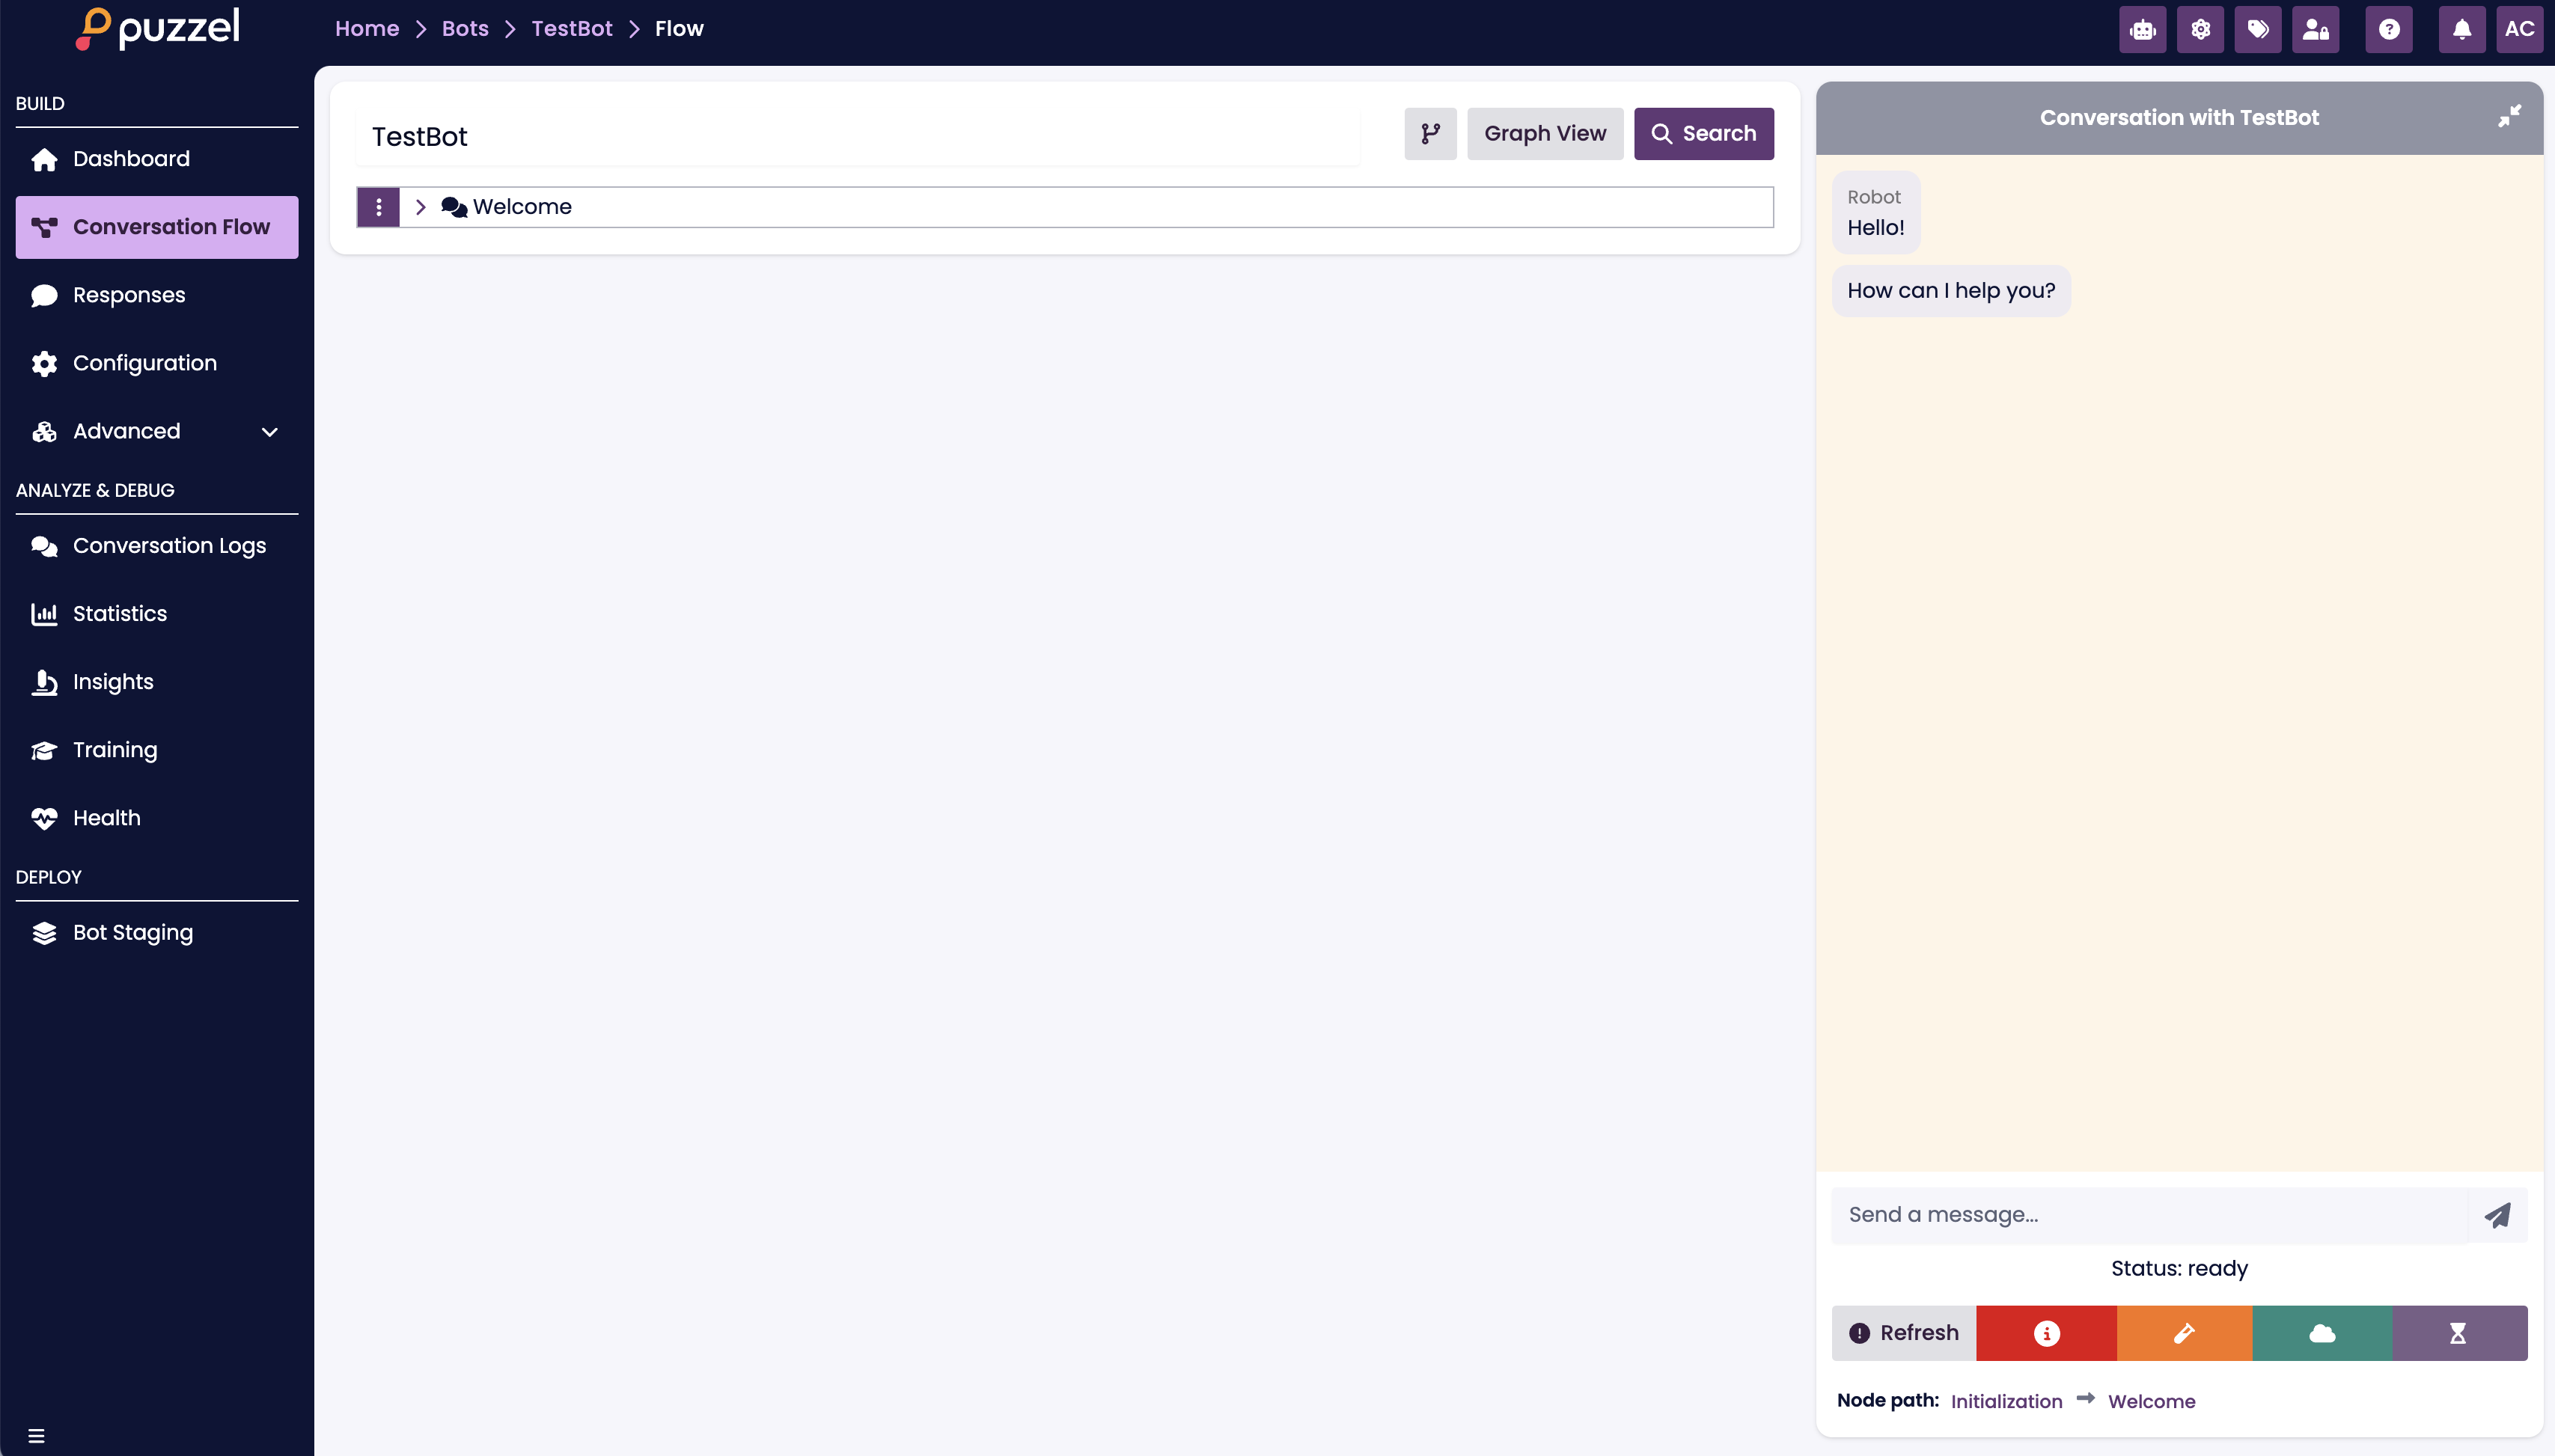
The workspace consists of three main panels:
• Navigation Panel (Left & Top) – Provides access to key sections and features.
• Working Panel (Center) – The primary area for building and configuring chatbots.
• Test Panel (Right) – Allows real-time testing and validation of chatbot interactions.
Additionally, at the top of the interface, there is a small navigation panel containing seven key buttons:
1. Help (?)


• Access to BotScript documentation with usage guides and a testing playground.
• Viewing the BotStudio software version.
• Toggling tooltips, QA page, and Variants page.
• Choosing to hide or show the bot demo panel by default.
• Managing image uploads, allowing users to upload images, generate image URLs, and categorize them in folders.
2. Notification Bell

• Stores system notifications, including errors and updates from BotStudio.
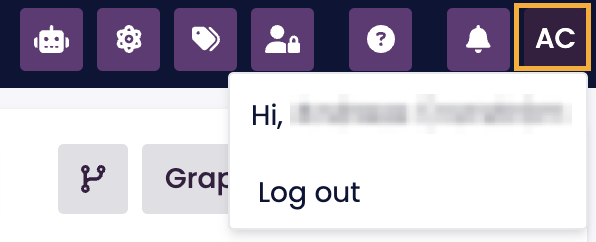
3. User Profile
• Displays the currently logged-in user and provides a logout option.
Main Sections on the Welcome Screen
In addition to the top navigation panel, the welcome screen provides access to four main sections:

1. Bots
• Overview of all chatbots, where users can create, upload, access, download, and delete bots.
2. NLU (Natural Language Understanding)
• Space for adding language models and classifiers, enabling training to improve chatbot intelligence.
3. Data Exploration
• Allows users to analyze historical chatbot data and identify trends based on past interactions.
4. Administration
• Manages permissions for users, bots, classifiers, and datasets.
• Note: This section is only accessible to users with the “superuser” role.
The Navigation Panel
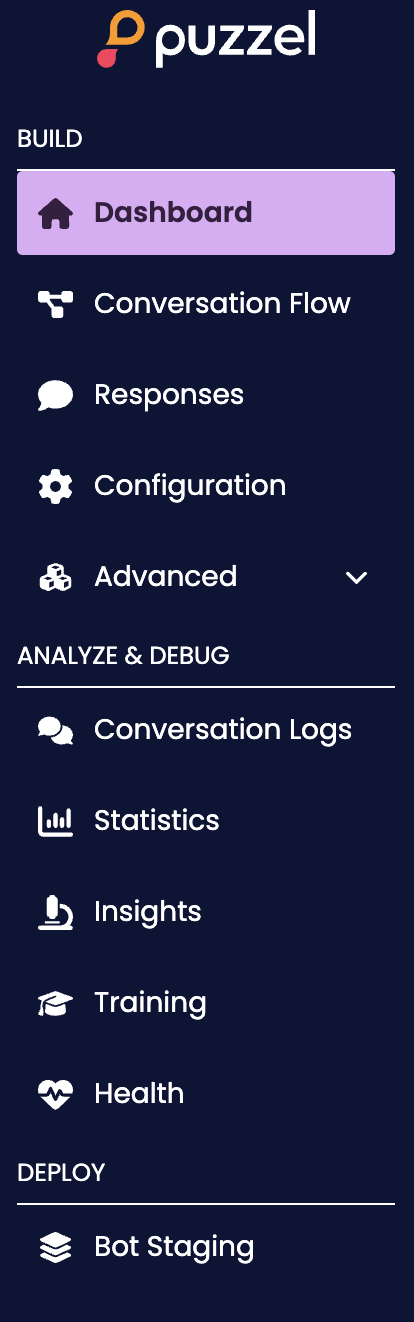
The left-hand navigation panel (shown below) is used to navigate through the different parts of chatbot creation and management. The navigation panel is structured into three main sections: Build, Analyze & Debug, and Deploy.
BUILD Section
The BUILD section is the primary workspace for developing and configuring chatbots. It includes:
• Dashboard – Displays key performance metrics, suggestions, improvements, and recommended actions for the chatbot.
• Conversation Flow – Allows users to create and edit chatbot nodes to expand its functionality.
• Responses – Enables searching across all nodes to easily locate and modify chatbot responses.
• Configuration – Provides settings for chatbot customization, including name, fallback behavior, error handling, authentication, and more.
• Advanced – A dropdown menu offering access to additional advanced features.
ANALYZE & DEBUG Section
This section provides tools to monitor chatbot interactions, analyze performance, and optimize responses:
• Conversation Logs – View and inspect chat interactions between the chatbot and end users.
• Statistics – Gain insights into chatbot usage and performance metrics.
• Insights – Analyze user flow through various chatbot nodes to identify trends.
• Training – Improve chatbot understanding by providing feedback when it misinterprets user input.
• Health – Monitor the chatbot’s operational status and review suggested optimizations.
DEPLOY Section
• Bot Staging – A staging environment for preparing chatbots before deployment, allowing comparison with previous versions.
Deployment Process in BotStudio
Changes made in BotStudio do not immediately affect live chatbots. To implement updates, the following steps must be completed:
1. Staging – The chatbot is reviewed and prepared for deployment.
2. Deployment – The chatbot is published via BotAdmin, a supplementary tool.
This controlled process ensures that chatbot updates are thoroughly reviewed and tested before being deployed to end users.