Creating and configuring Office 365 application in Azure
In this section you can create an application for Office 365 connector and configure it.
Application registration
Follow the procedure below to register the Office 365 connector application in Azure AD:
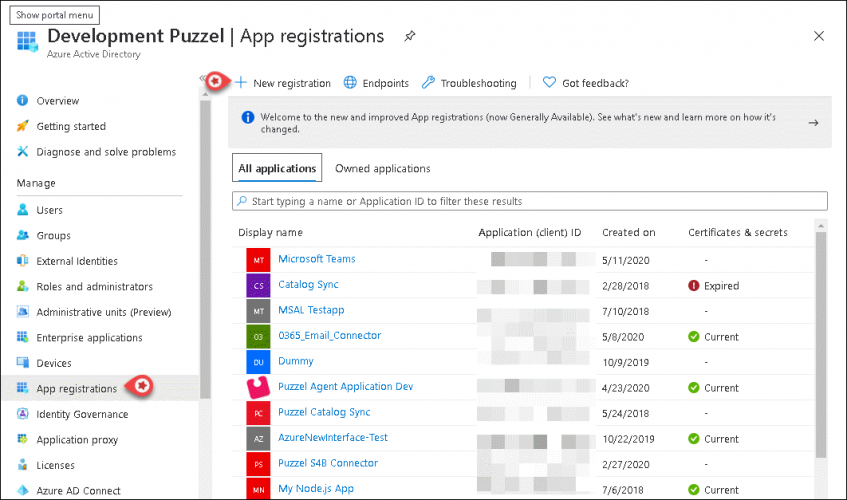
- Go to https://portal.azure.com/, and open Azure Active Directory and select App registrations and click on New registration button
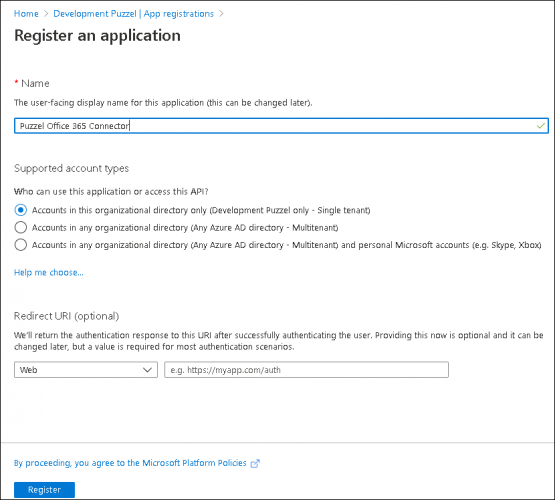
2. Enter the following three parameters in the Register an application window and click Register
- Name - Choose a name for the application (e.g. Puzzel Office 365 Connector)
- Supported account types – Choose the option that is most relevant to you. The recommended option is “Accounts in this organizational directory only “
- Redirect URI (optional) – This is optional and can be left blank
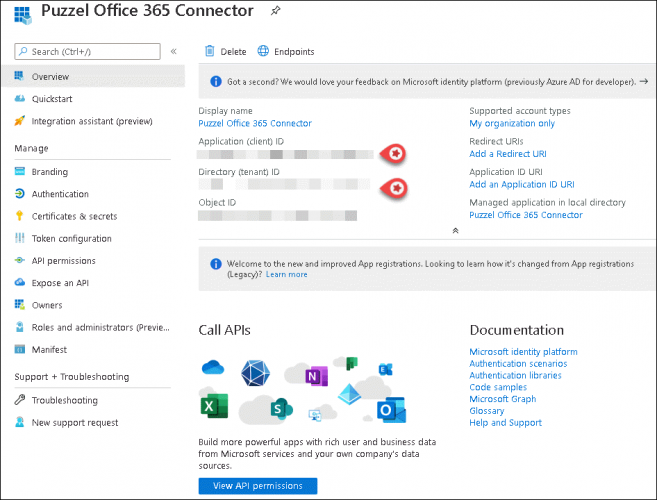
3. You will see the screen below after the application has been registered. Make a note of the Client ID and Tenant ID which will be used later.
Set up permissions
To set up the permissions for syncing the emails, do the following:
- Go to https://portal.azure.com/, and open Azure Active Directory -> App registrations and select the application you just created.
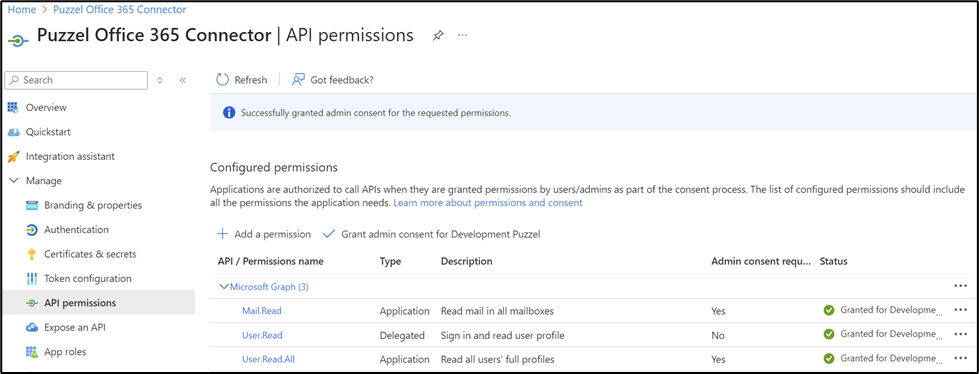
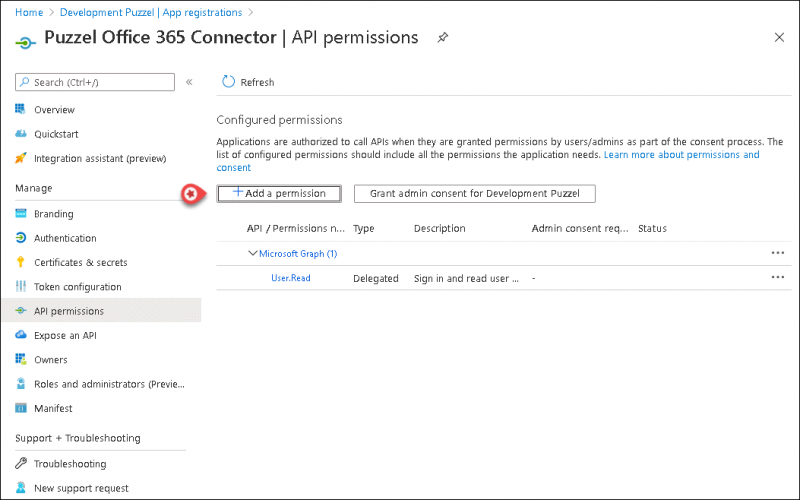
2. Select API permissions and click on Add a permission button.
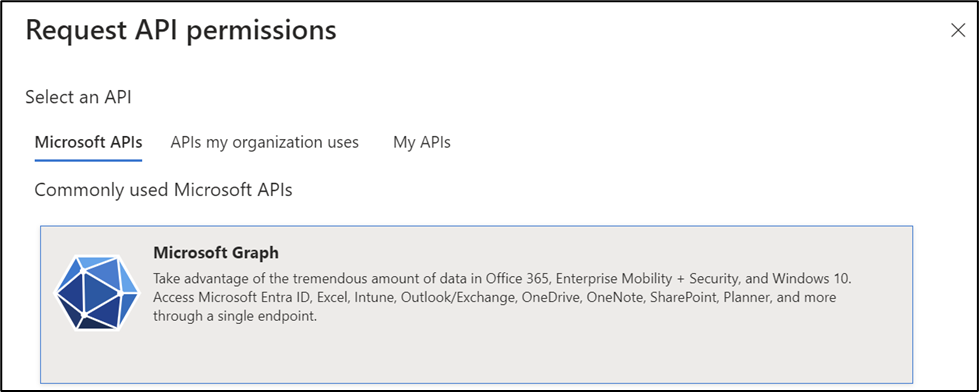
3. Select Microsoft Graph.
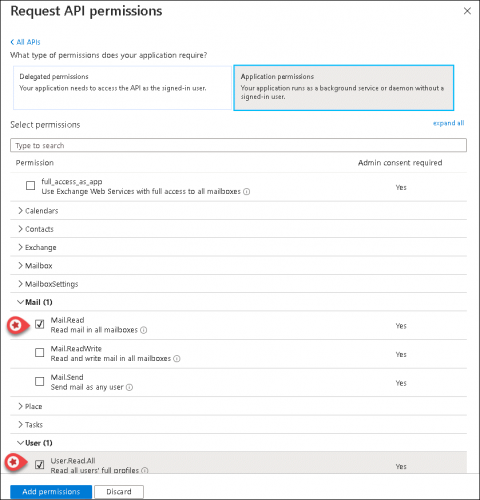
4. Select Mail.Read Option under Mail and User.Read.All option under User and Click on Add permissions.
5. The following screen will appear prompting you to Grant consent as an Admin. You will be asked to confirm if you wish to grant permission. Click yes.
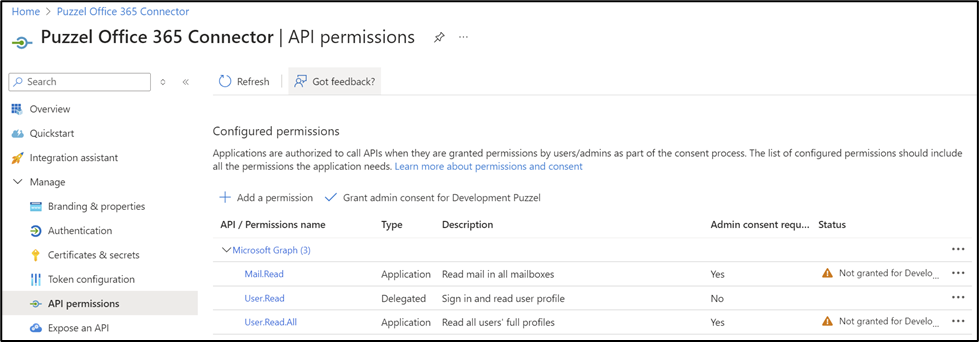
6. The application will now have the required permissions.