
Search Engines
Overview
A Search Engine in SupSearch acts as the searchable layer that connects one or more Data Sources to user-facing queries.
Each Search Engine defines how information is indexed, trained, and served — allowing users to find the most relevant articles, FAQs, or documents through search.
From the Knowledge Hub, you can:
Create and configure Search Engines
Connect existing Data Sources
Train the search model with real or labeled queries
Deploy and test new versions
Monitor performance and version accuracy
💡 Tip: A Search Engine is only as powerful as the Data Sources connected to it. Make sure your Data Sources are synced and ready before creating a new Search Engine.
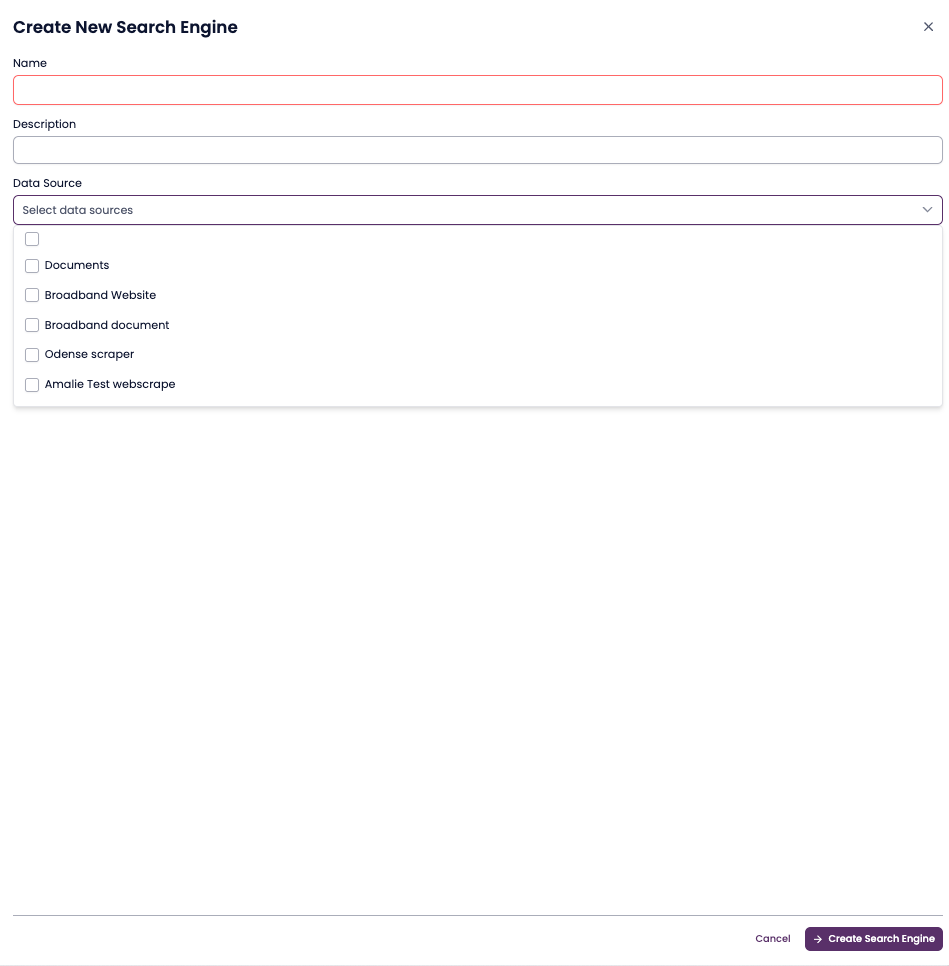
Creating a New Search Engine
Steps
Go to Knowledge Hub → Search Engines.
Click Create Search Engine (top right).
Fill in the required fields:
Name – Give your engine a descriptive name (e.g., Puzzel Broadband Website).
Description – (Optional) Add notes about the purpose or content.
Data Source – Select one or more connected Data Sources.
Click Create Search Engine.
Once created:
The new engine appears in the list under Search Engines.
It automatically starts deployment upon creation.
When ready, the testing input field becomes available for you to test queries.
The system will also generate sample questions based on your data sources to optimize the model automatically.
⚙️ The first version won’t be optimized, but optimization will start automatically and be deployed once complete.
The first version that is ready to use will not be optimized, but the optimization process will start automatically and will after a while be automatically deployed and used.
Adding or Removing Data Sources to an Existing Search Engine
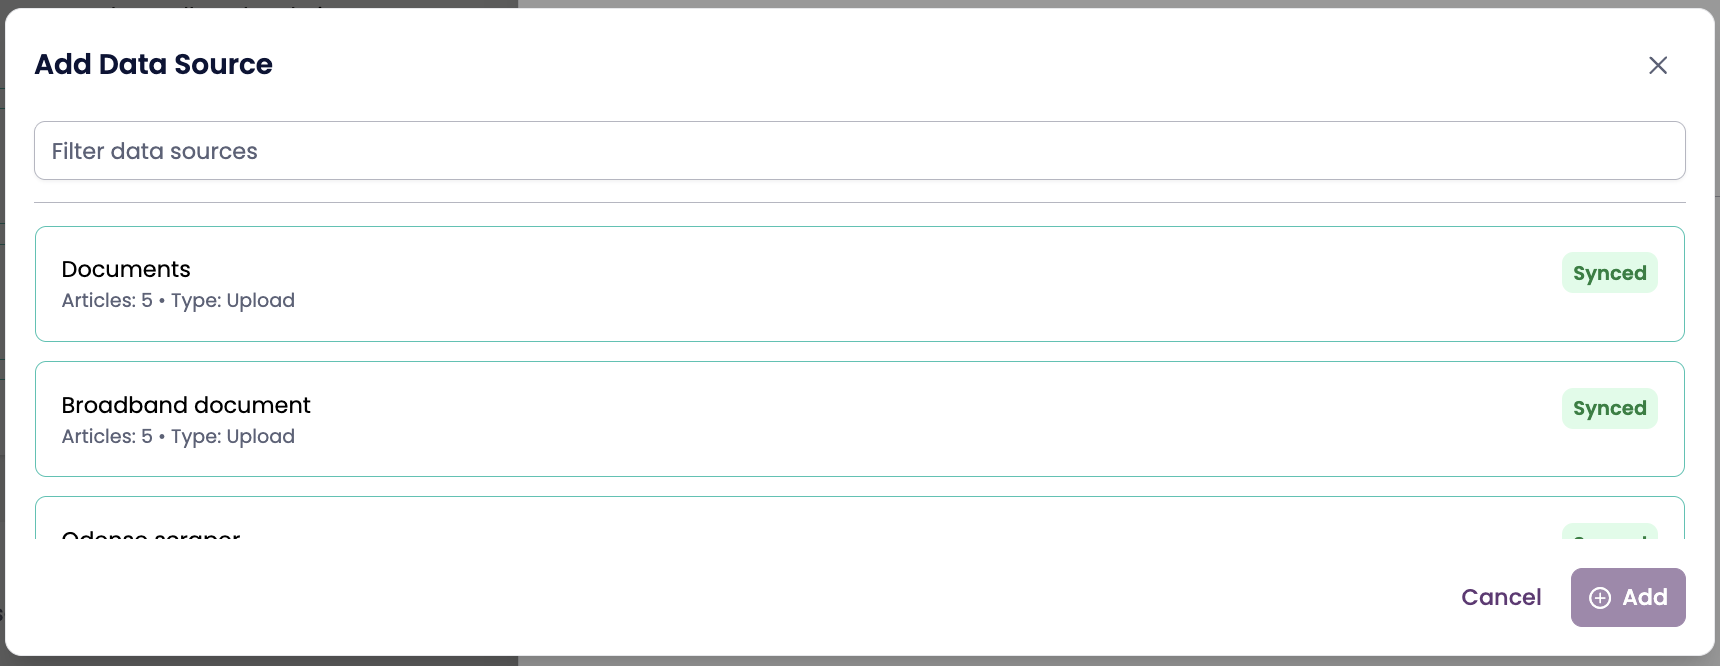
To Add a Data Source
Click on your Search Engine in the list.
Under Connected Data Sources, click Add Data Source.
Select one or more synced sources (e.g., Puzzel Broadband Website, Documents).
Click Save.
To Remove a Data Source
Click on your Search Engine in the list.
Under Connected Data Sources, click the Remove button and confirm.
Click Save.
⚠️ Important: Retrain and Deploy After Changes
Whenever you add or remove Data Sources, you must manually retrain and deploy your Search Engine.
This ensures the search model reflects the most current data and structure of your connected sources.
Retrain Your Search Engine
Each account in SupSearch automatically retrains one Search Engine per night, but only if there have been changes since the last training.
However, if you manage multiple Search Engines, there is no guarantee that the one you recently changed will be included in that automatic retraining cycle.
To ensure that your specific changes are applied, it’s recommended to manually trigger retraining after any update — especially when you’ve modified Data Sources or configurations.
Steps to Manually Retrain
In the search engine view, click Versions.
Inside the Versions modal, click Train in the upper-right corner.
This starts a manual retraining process for your search engine.
The status under Task Status will display as Running during training.
When the status changes to Done, retraining has completed successfully.
Deploy the Newly Trained Version
Once retraining is complete, you can deploy the new version for testing.
Close the Versions modal.
Click Deploy.
In the deployment section, click Change next to Test Version.
From the dropdown, select your newly trained version.
Wait until the version status updates to Ready.
Your new version is now active in Test Mode.
You can click Test to run example searches and verify that results are improved.
Stage and Publish the New Version
Once you’re satisfied with the test results:
Click Stage Version to promote your test version to production.
When your new version number appears under Staged Version and the status shows Ready, your search engine is now live.