
User Management in Organisation Settings
User Management is a key section within Organisation Settings, where you can manage your users, including their personal and employee data, language preference, roles, product access, access status, re-run provisioning rules for a given user or reset two-factor authentication settings. Basic user management operations such as users creation, deletion or users file export are also part of this section’s capabilities and bulk users file import is one of the enhancements to be implemented soon.
To access User Management, you will need to:
Access your account in Puzzel Contact Centre.
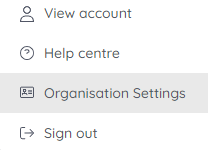
Click on the profile icon to the right side of the top bar
Select “Organisation Settings” from the drop down menu
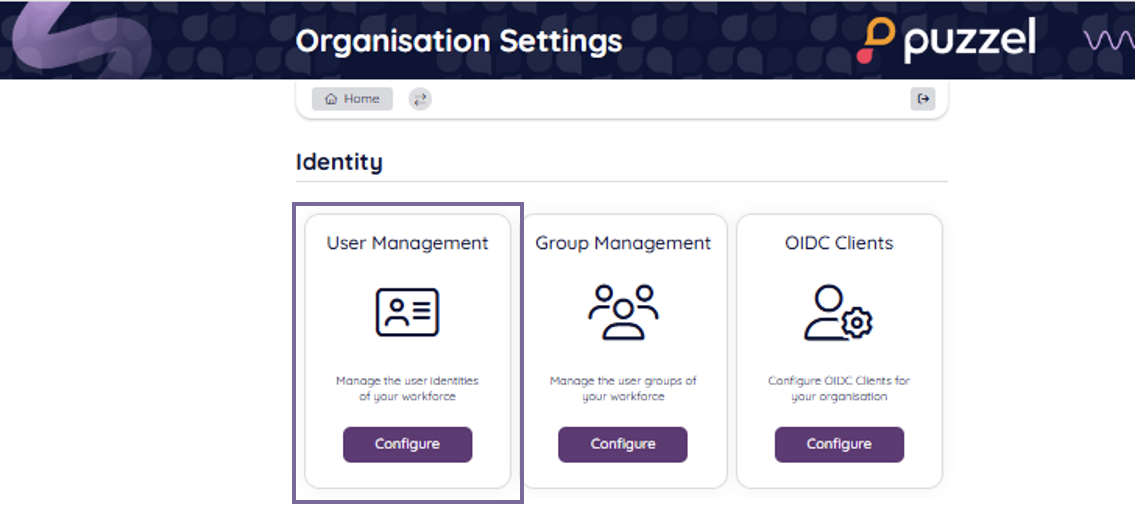
- On the Organisation Settings home page click “Configure” under “User Management”
You will the be redirected to the following page where the different capabilities are described below against the respective number.
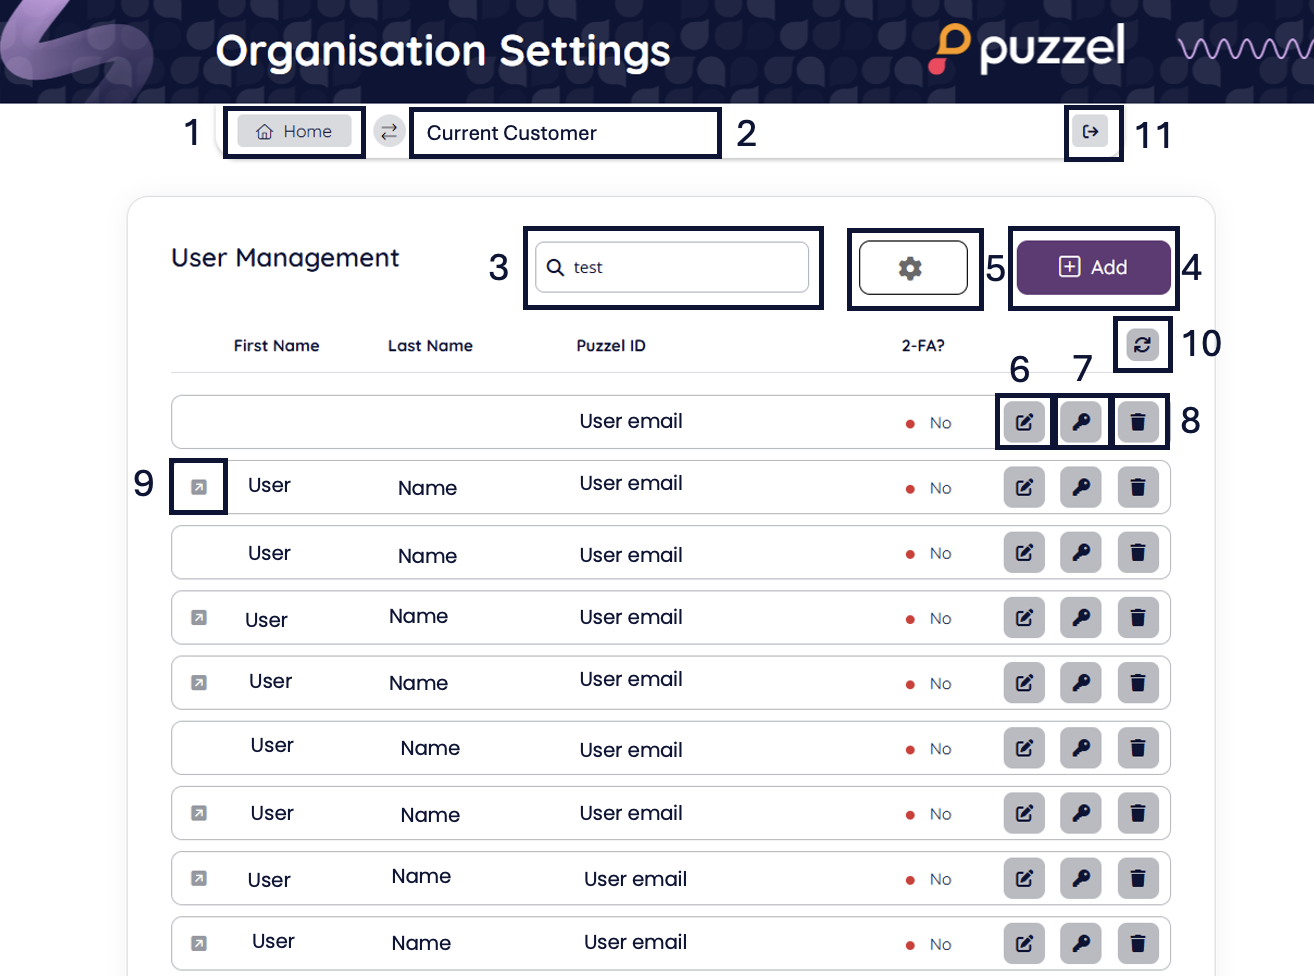
This is the shortcut to the Organisation Settings home page.
In the standard case you as an administrator would be accessing the solution you’re administering and this one only. However, if you have access to several solutions, such as the case when you’re a partner and there are multiple solutions under this partnership, then this double arrow icon is where you can switch between them.
The Search bar allows you to directly search for a particular user by their name or Puzzel ID (email).
The “Add” button allows you to add a new user, entering their basic information details like names, mobile number, email, time zone, preferred language, external id if used, roles and Puzzel ID group(s) if they’ll be members of any.
The cogwheel icon displays additional options for user management. Currently they include “Populate External IDs” usable if you have Single Sign-On configured with upn or email as external id claim; “Import External IDs” usable if you choose to upload a file with your users' external IDs, mapped to the users' emails and thus automatically populate the “external id” field in bulk. And finally, this button reveals the “Export users” wizard, described in more details in the “Export users” article.
The “Edit” button leads to the user details page, where their basic details are seen, respectively names, mobile number, email address, Puzzel ID (which is pre-populated with the email address and non-editable), time zone, language preference, external id if such is used, role(s) and Puzzel ID group(s). These can be edited and saved by the administrator.
- This section also has an “Inactive-Active” toggle. This is where the administrator can manually inactivate a user and thus prevent them from accessing the solution. Using this very same toggle, the user’s access can be reverted.
The “Extended information” section contains company details about the user like employee number, cost centre, organisation, division, department and manager. They are read-only as they’re taken from the organisation’s Active Directory and not entered/edited in Organisation Settings.
If 2-factor authentication is in use by this user, there would be one more section on this page with option to reset it.The Product Access button is where you can set which products and solutions the given user has access to. When there’s more than one product displayed, you will see different sections, so it’s easy to spot which solutions belong to which Puzzel application, as shown on the screenshot below:
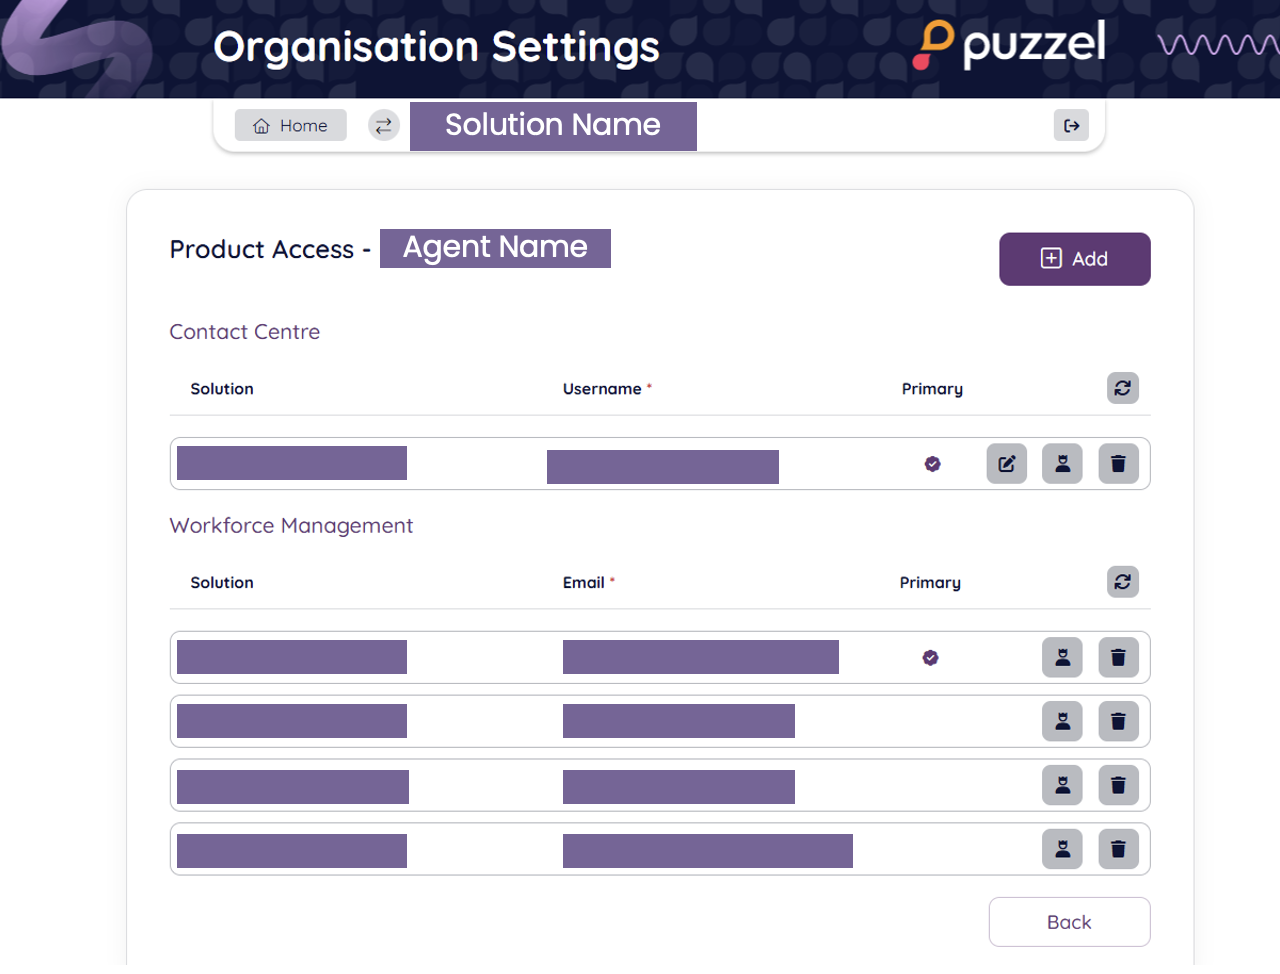
Each solution and user name this user has are listed. When you switch to an application, the Primary solution user will be presented. See Top Bar for switching between solution users.
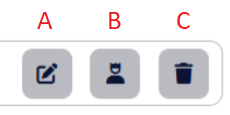
A. Allows editing the user’s access details for the respective solution.
B. Sets the Primary solution user for the application.
C. Delete button will delete the application user account and the solution user that gives access to the application.
The “Delete” button results in permanent deletion of the user. If you as administrator would like to restrict a user’s access to a given solution, but keep the option to retrieve their access later on, you should rather go to the user details using the “Edit button” (from Point 7. above) and use the Inactive-Active toggle.
This indication shows if the user has an external id. If it’s not on the screen, then there is no external id.
This button refreshes the users list.
This is a Sign-Out button.