
Bulk upload of users
To bulk upload users:
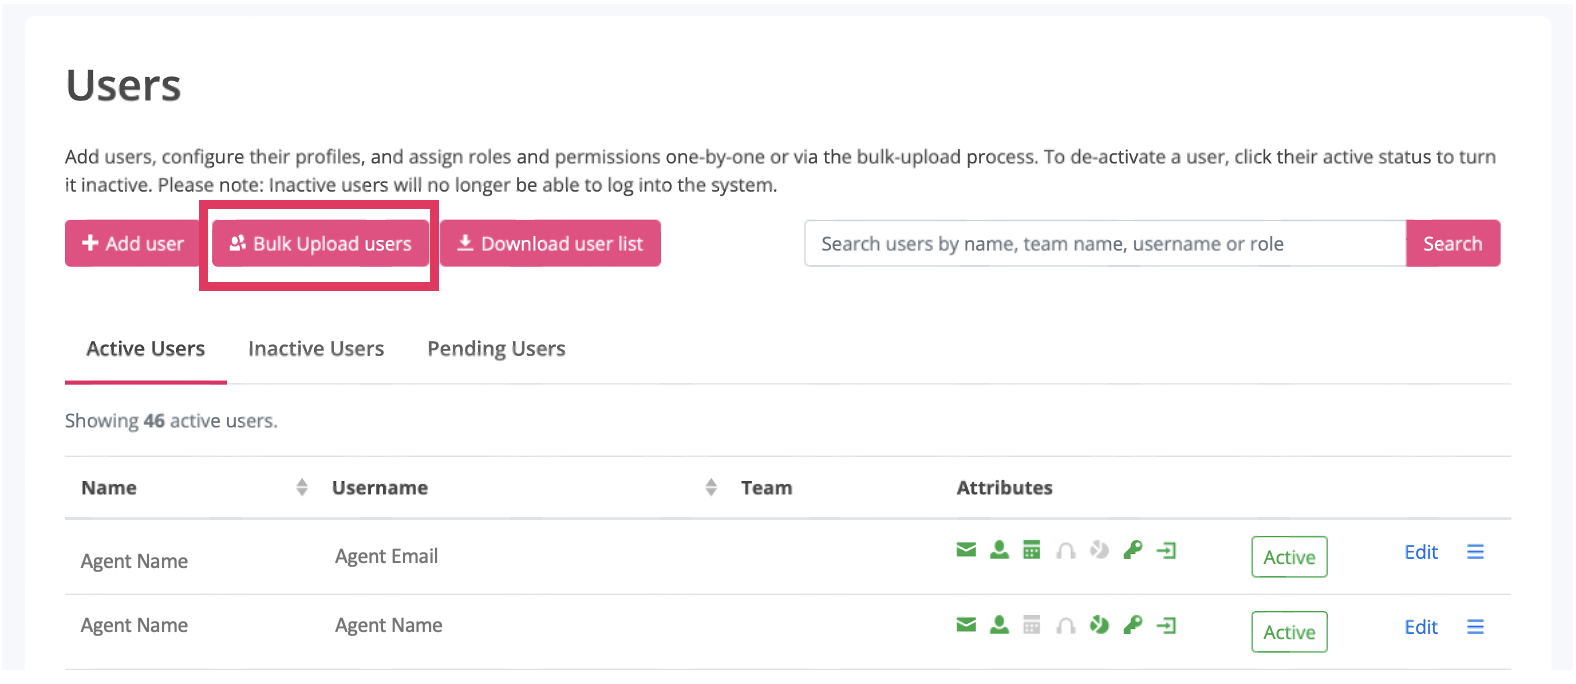
- Go to USER MANAGEMENT
- Click Add & Edit users
- Click the button, Bulk Upload users
to reveal the following pop-up...

Click Browse to select your CSV file from your files...
The CSV file
The bulk upload file template is as follows;
forename, surname, email, username, switch id, role, system access (yes/no)
To create a list of users, you may export names from your workforce management system or from some other employee database. Most of these systems have the facility to generate details via a CSV export.
Alternatively, if you need to create the CSV file from scratch you could use a program like Microsoft Excel, Mac Numbers, Google Spreadsheets or OpenOffice.org Calc.
There are a number of points you need to consider when creating and uploading your CSV file:
- The first row of the CSV file is the header row. This first row must remain completely unchanged - It must remain in the file, with the column titles unchanged and in exactly the same order as they appear in the template file.
- Please adhere to the column header fields documented in the attached CSV file template and described in the table below - changing headers and not following the correct data formats will result in errors. The most common errors that the system validates against are listed below
- The file must be saved as a CSV using UTF-8 character encoding.
- Each file you upload is limited to 2,000 rows of data (one row for the header and 1,999 rows for users). If you want to upload more than 1,999 users that's OK, but you'll just need to create separate files for each batch of users and upload the files separately.

Validation checks & error handling
On uploading your file, the system checks each row against the following criteria.
- All mandatory columns [forename; surname; username; role; and, system access (yes/no)] on each row contain properly formatted data.
- All Usernames in the file are unique and none of the usernames in the file already exist in the system.
- Any switch IDs in the file are unique and none of the switch IDs in the file already exist in the system.
- The role title on each row exactly matches (spelling/spaces/case sensitive) one of the roles in your roles and permissions table in Admin/Roles & Permissions.
- The number of users granted system access (when combined with any existing users with system access) does not exceed the limit associated with your account.
- The number of agents (when combined with any existing active agents in the system) does not exceed the limit associated with your account.
If any errors are found, you will be prompted with the row where the error was identified with some guidance on the nature of the error.
If errors are detected, the system will not accept the file and none of the users will be added. In such cases, you will be prompted to correct any and all errors and try to upload the file again.
What happens after a successful upload?
If the upload is successful, you will be taken to the following screen where you will be prompted to; (a) assign any agents in the file to a team; and, (b) assign a reporting-access level to non-agent users.
Finally...
Once each user profile has been created, the user's Account Status will be set to Active and their details will appear in the user table.
If the user has been granted system access, they will then experience the user invite process.
Alternatively, if you wish to add one user at a time, you can simply add a new user.