
Creating Users
Please note, this documentation is referring to functionality for which an End of Life has been announced. The announcement can be found here, and the new product documentation is available here.
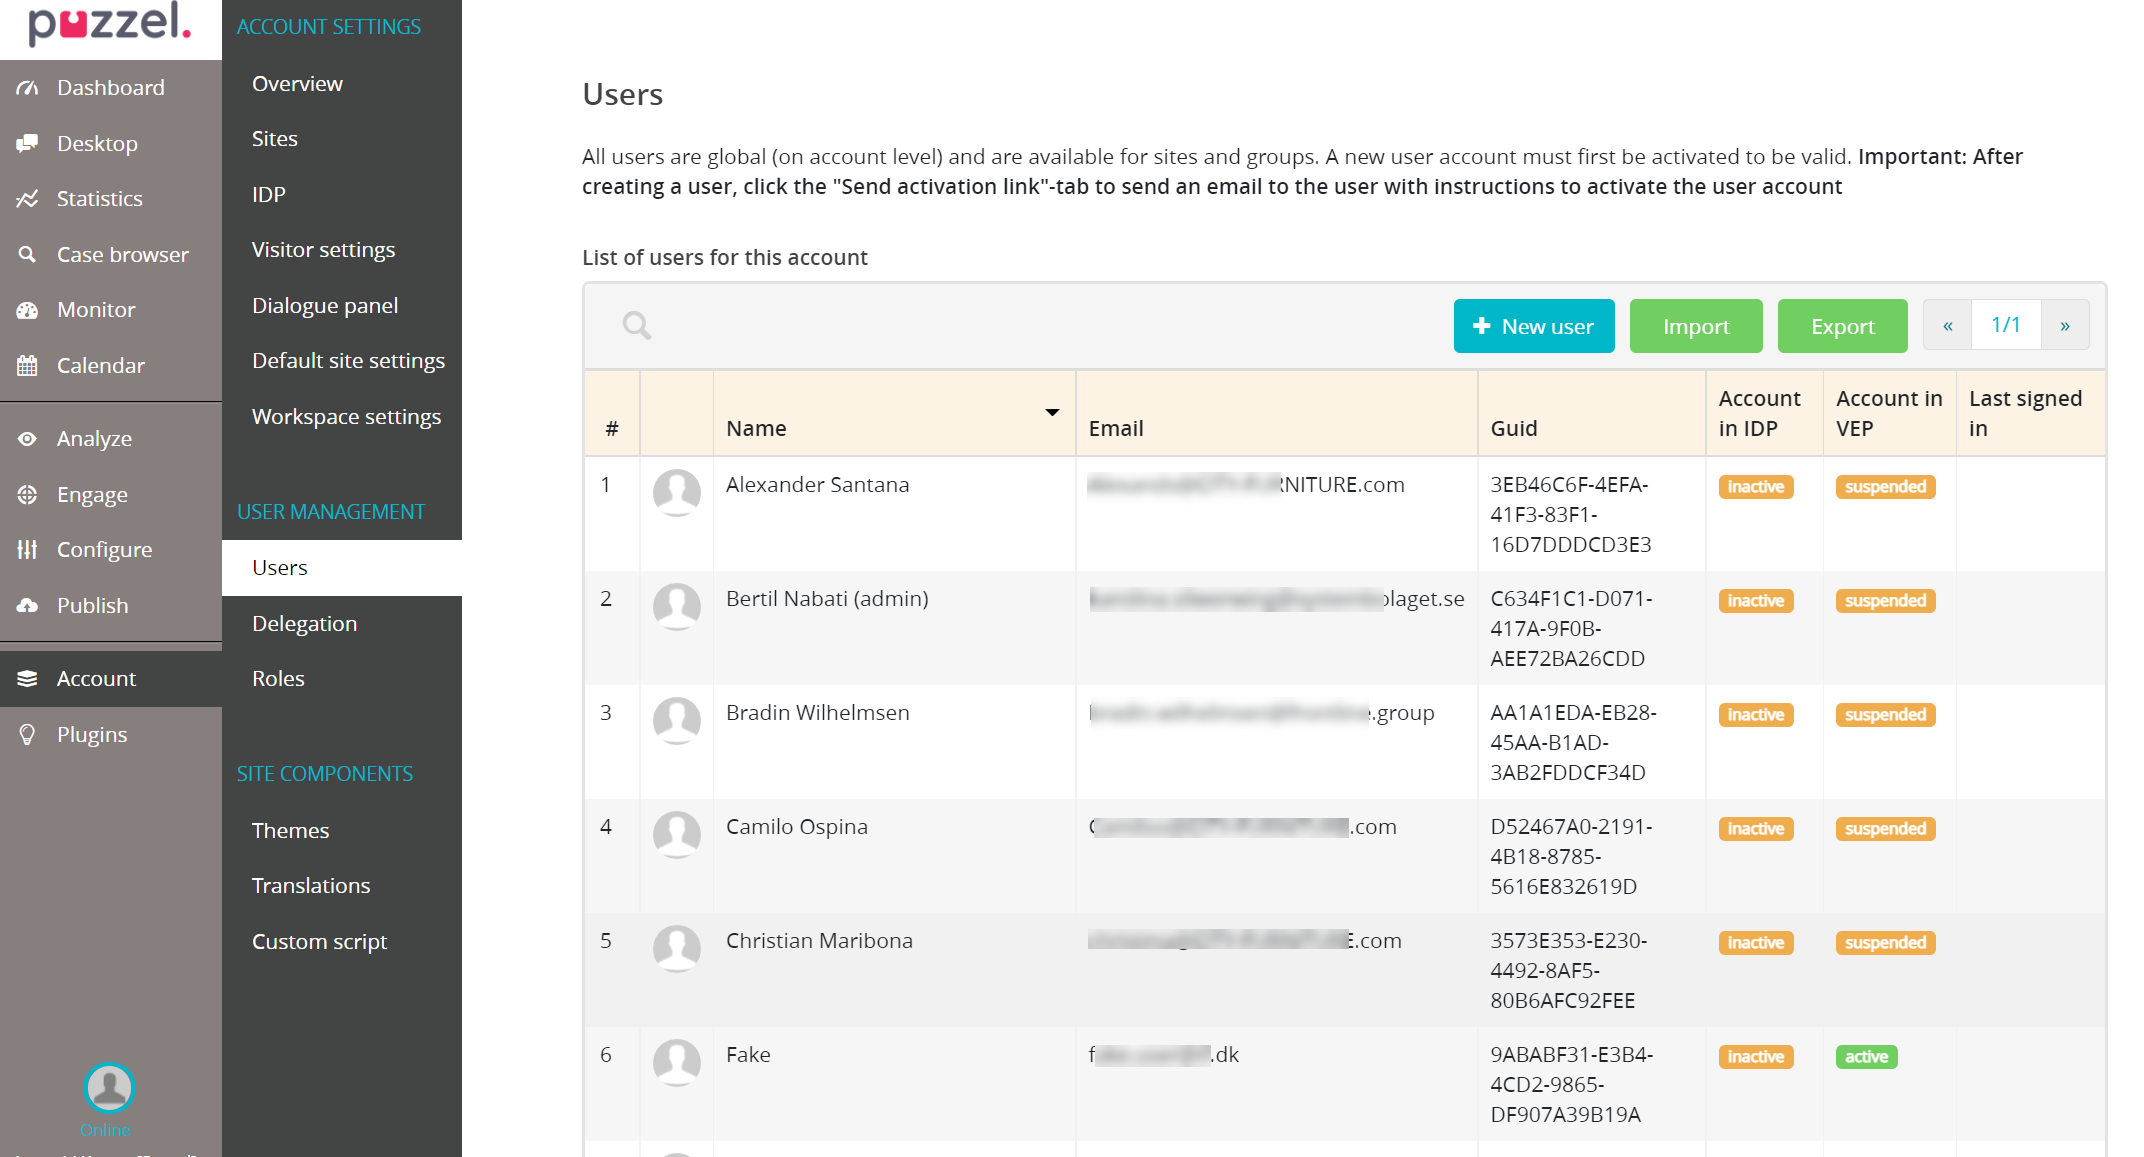
The Users section under User Management displays a list of all users created for the account.
Creating a new user
To create a new user,
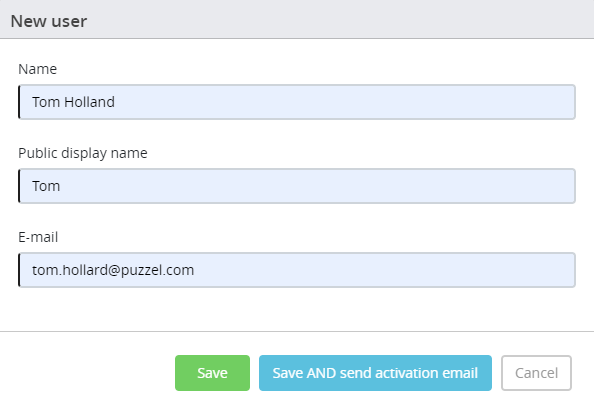
Go to Account -> Users -> click on the
 icon. Enter the user details in the New user window and click on Save AND send activation email button. This will open up the Edit user window where you can add a profile picture and other details of the user.
- Proceed to Roles tab where you can assign different roles to the user from the list and click Save
- On the Groups tab, you can assign the groups or queues the user should belong to and click Save
- If you hadn't already sent a activation email before, you can do it now on the Send activation e-mail tab.
Save all the details and click on the ![]() icon to go back to the list.
icon to go back to the list.
To delete a user, find the user in the list or search for the user from the search tab and click on it. Press Delete button in the Edit user window and confirm your decision.
Bulk import of user list
To bulk import users, go to Users -> and click on the ![]() icon. You can download a CSV template to add all the users you wish to import in the required format. Click on
icon. You can download a CSV template to add all the users you wish to import in the required format. Click on ![]() icon and upload the file. For more details on all the fields in the CSV, click on the
icon and upload the file. For more details on all the fields in the CSV, click on the ![]() icon on the screen.
icon on the screen.
Exporting user list
To export all the users, go to Account -> Users -> Export to download a CSV file of all users in the system.