Creating an action
Getting started
To create and assign an Action, you have two options:
- Option 1 - Create actions within a 1-to-1 meeting.
- Option 2 - Create an action via the menu.
Please Note: In order to create and assign actions, you will need the permission: Facilitate 1-to-1s & actions
Option 1: Create actions within a 1-to-1 meeting
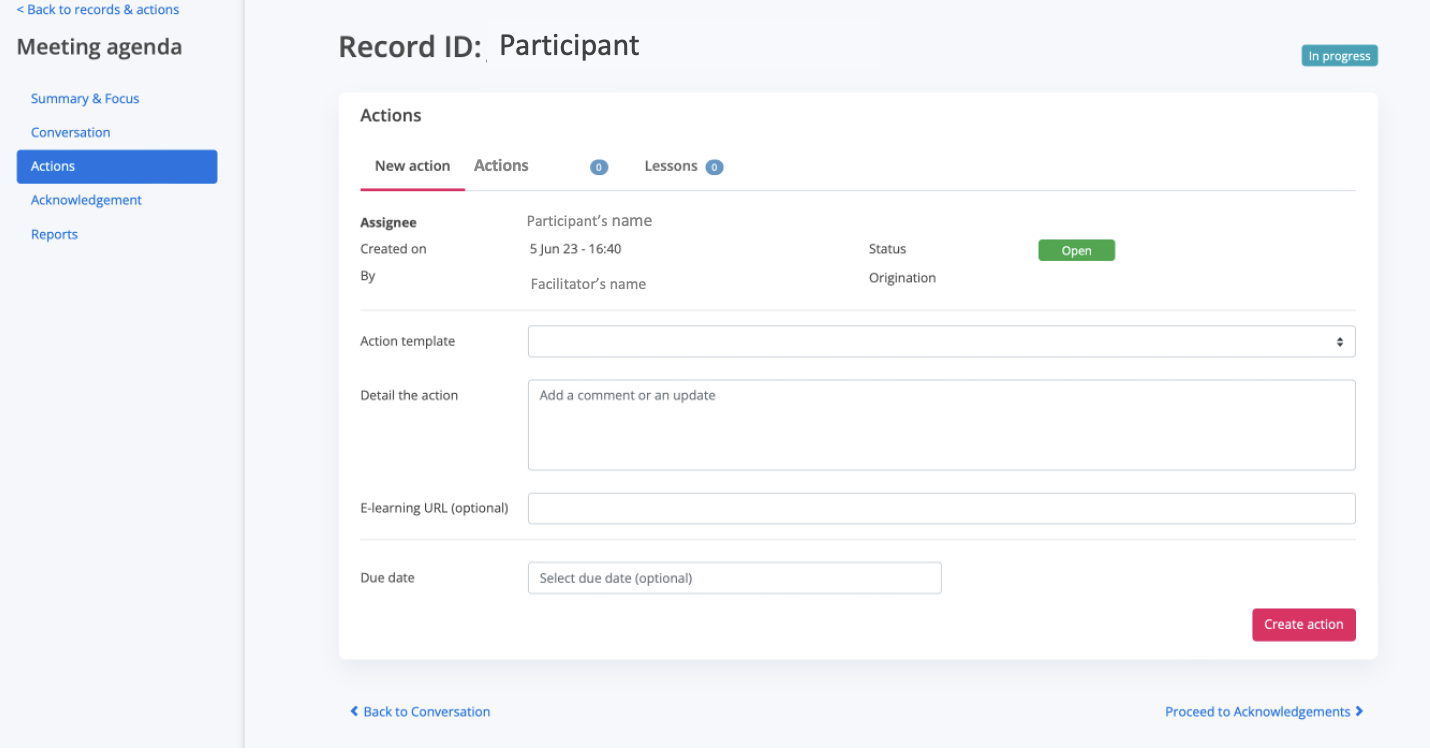
During the process of managing a meeting or at any time before the meeting is complete, click the Actions link in the left-hand-side meeting agenda menu and you'll be taken to the Actions section of the meeting.
Here you can create an action. The only required field is Detail the action. Once you've entered the data into the form, click the Create action button and the meeting will be recorded in the second tab.
By clicking on the second tab ("Agent name"'s actions), you'll be taken to a table containing all of the agent's actions. The coloured numbers are simply used to highlight actions added during this particular 1-to-1 meeting, however all of the user's current actions are visible in this table.
Option 2: Create an action from the menu
To create an action from the menu:
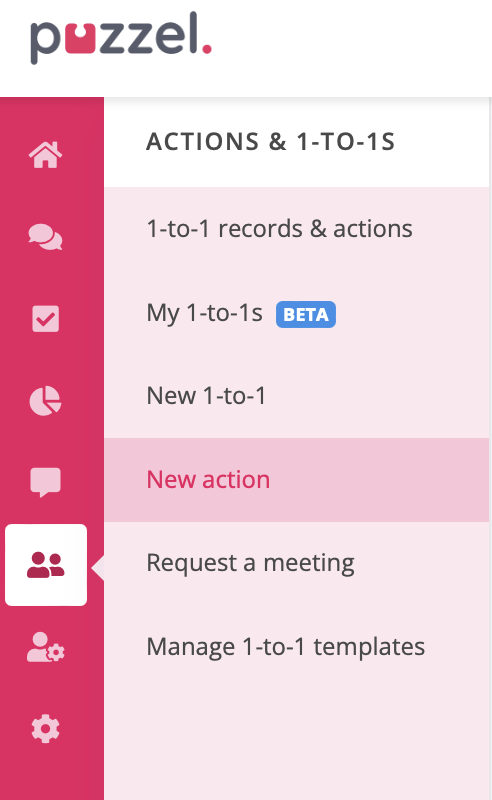
- Go to ACTIONS & 1-TO-1
- Click New action
By following the navigation prompt, you'll be directed to an identical version of the Create action screen referenced above.