Installation
The Sync Client is installed through an .msi-file. This file installs a windows service that performs the actual synchronization as well as a configuration tool that allows the administrator to configure the service.
To do the installation:
- run the .msi-file and place the sync client files in an appropriate location.
- After clicking on the .msi-file, click “Next” to start the installation.
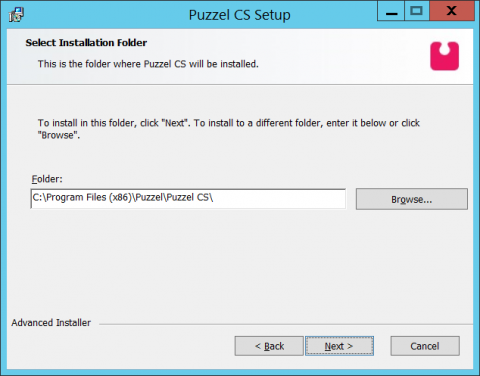
- Choose the installation folder and then click Next
- Click Install
- Click Finish


