
Creating a Forecast using the wizard
Upon selecting a week without a forecast in Red, the below screen will be displayed.
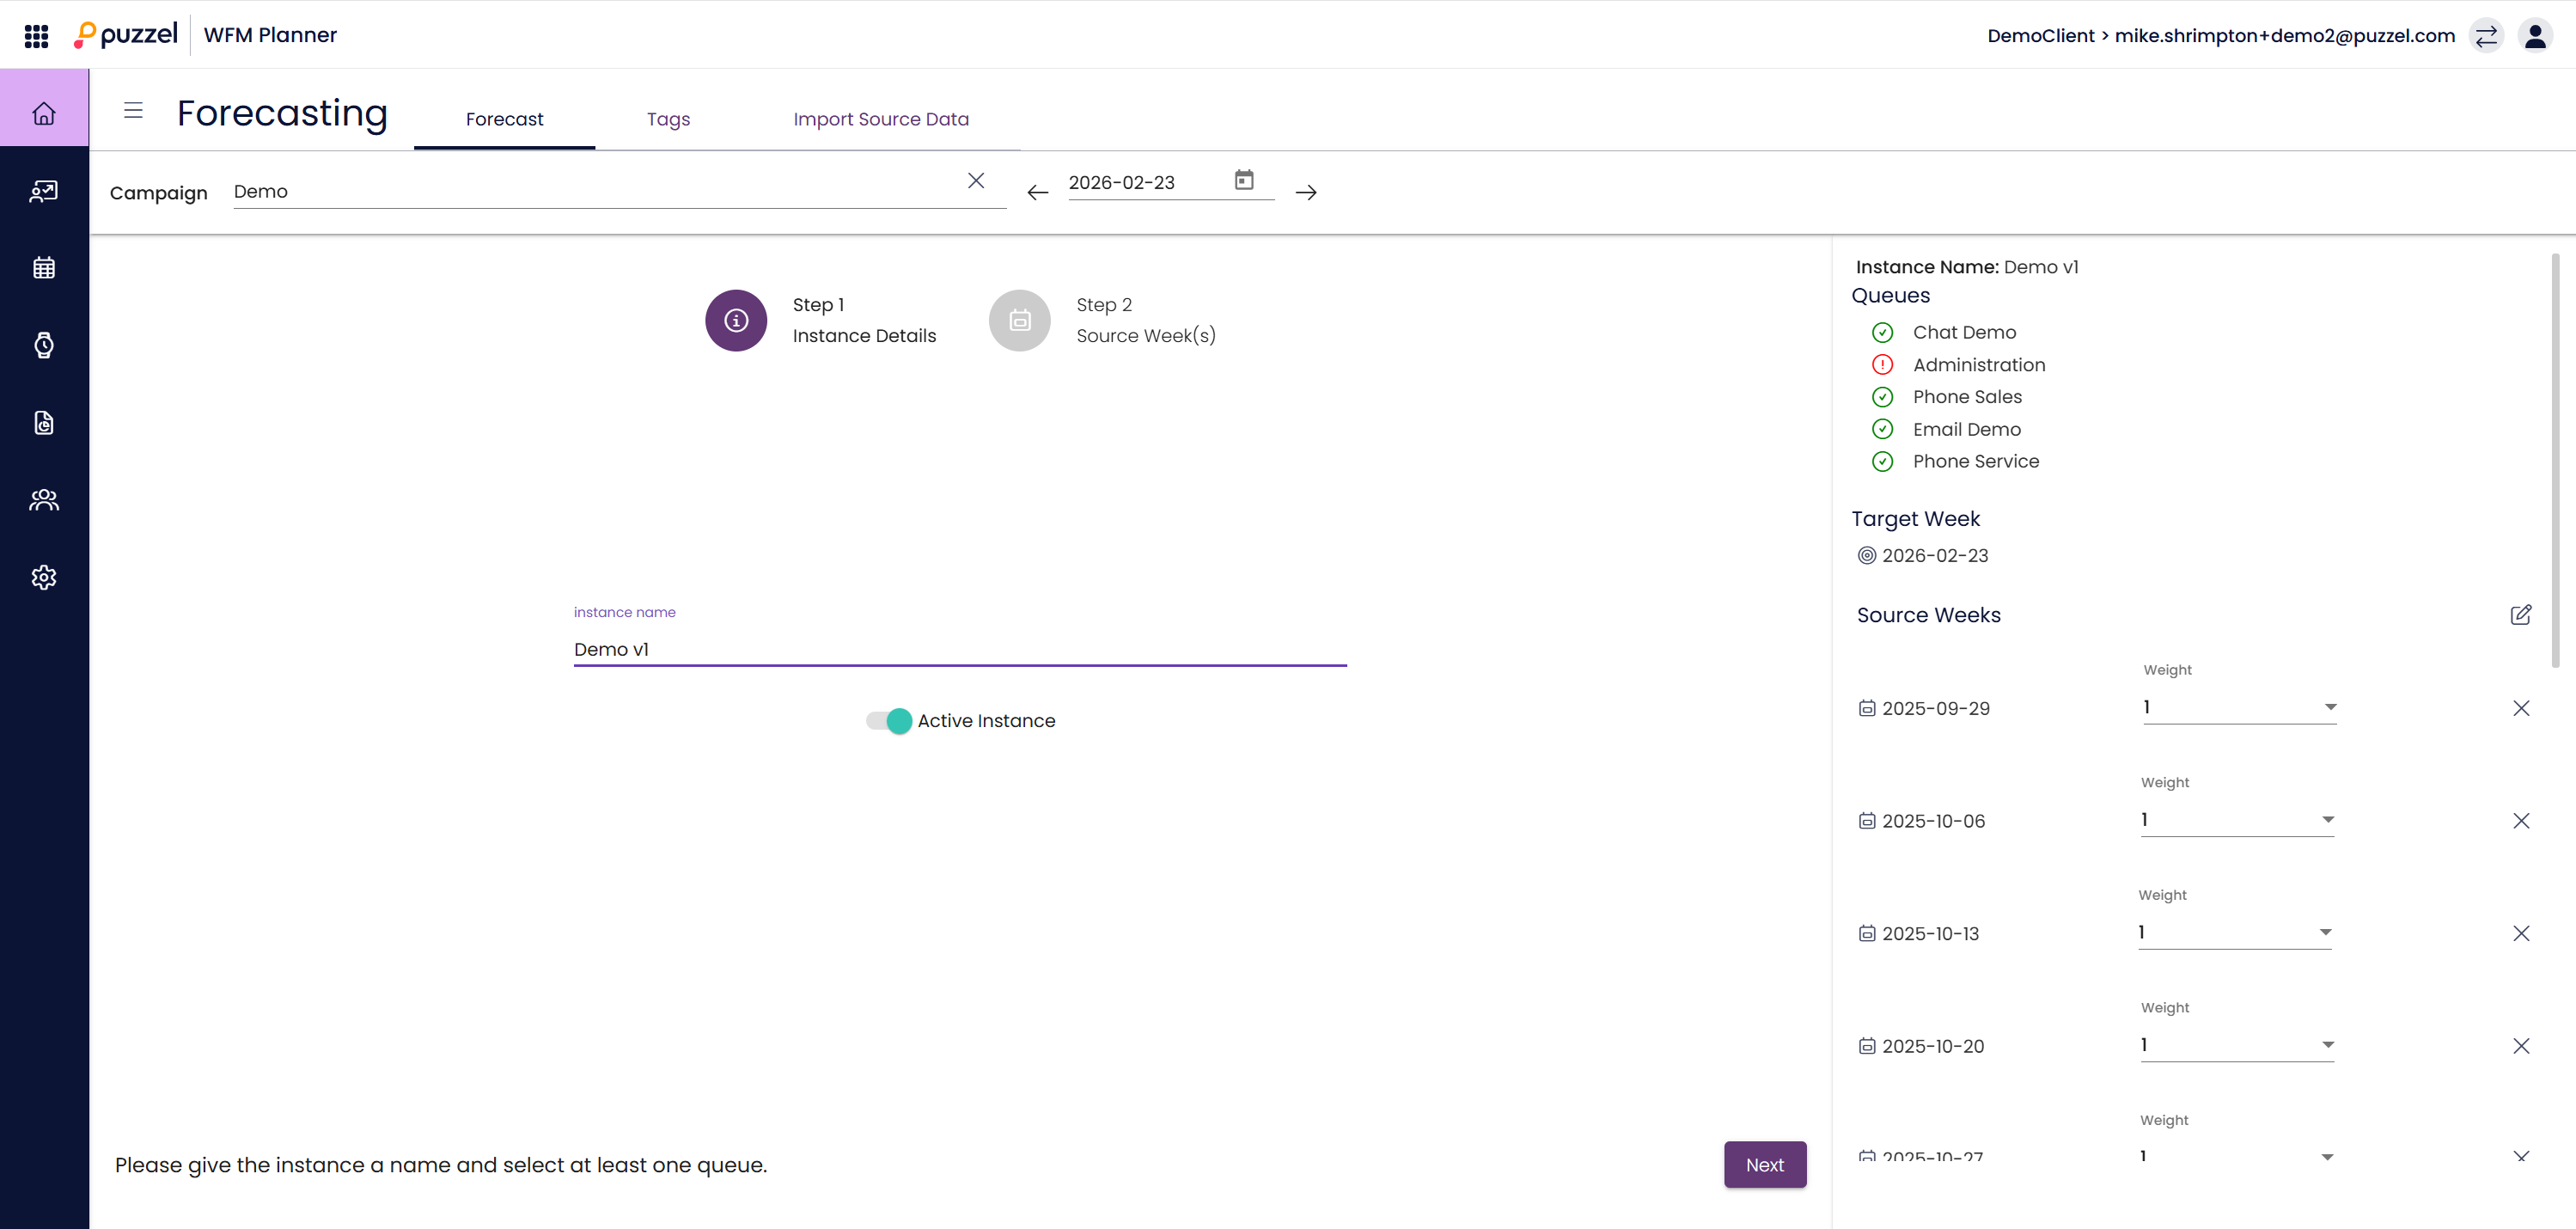
Step 1 - Instance Details
- Enter a name for the forecast in Instance Name.
- Click on Step 2 Source Week(s) when ready.
Step 2 – Source Weeks
- Some recent source weeks should be populated for you
- Weeks with any historical data are coloured green on the calendar. There is also a summary of the Contact Volume and AHT for the week to the right of the calendar.
- Tag icons are shown on days that have a tag.
- Selected weeks are frosted & are listed to the right of screen.
- Weeks can be selected/deselected by clicking anywhere on the week. You can also deselect a week using the cross next to the week in the list.
- Historical weeks can be weighted to take specific weeks in to account more than others.
- Weighting – If a 4 was added for a week, the system would use the same week 4 times, the values are NOT multiplied by 4.
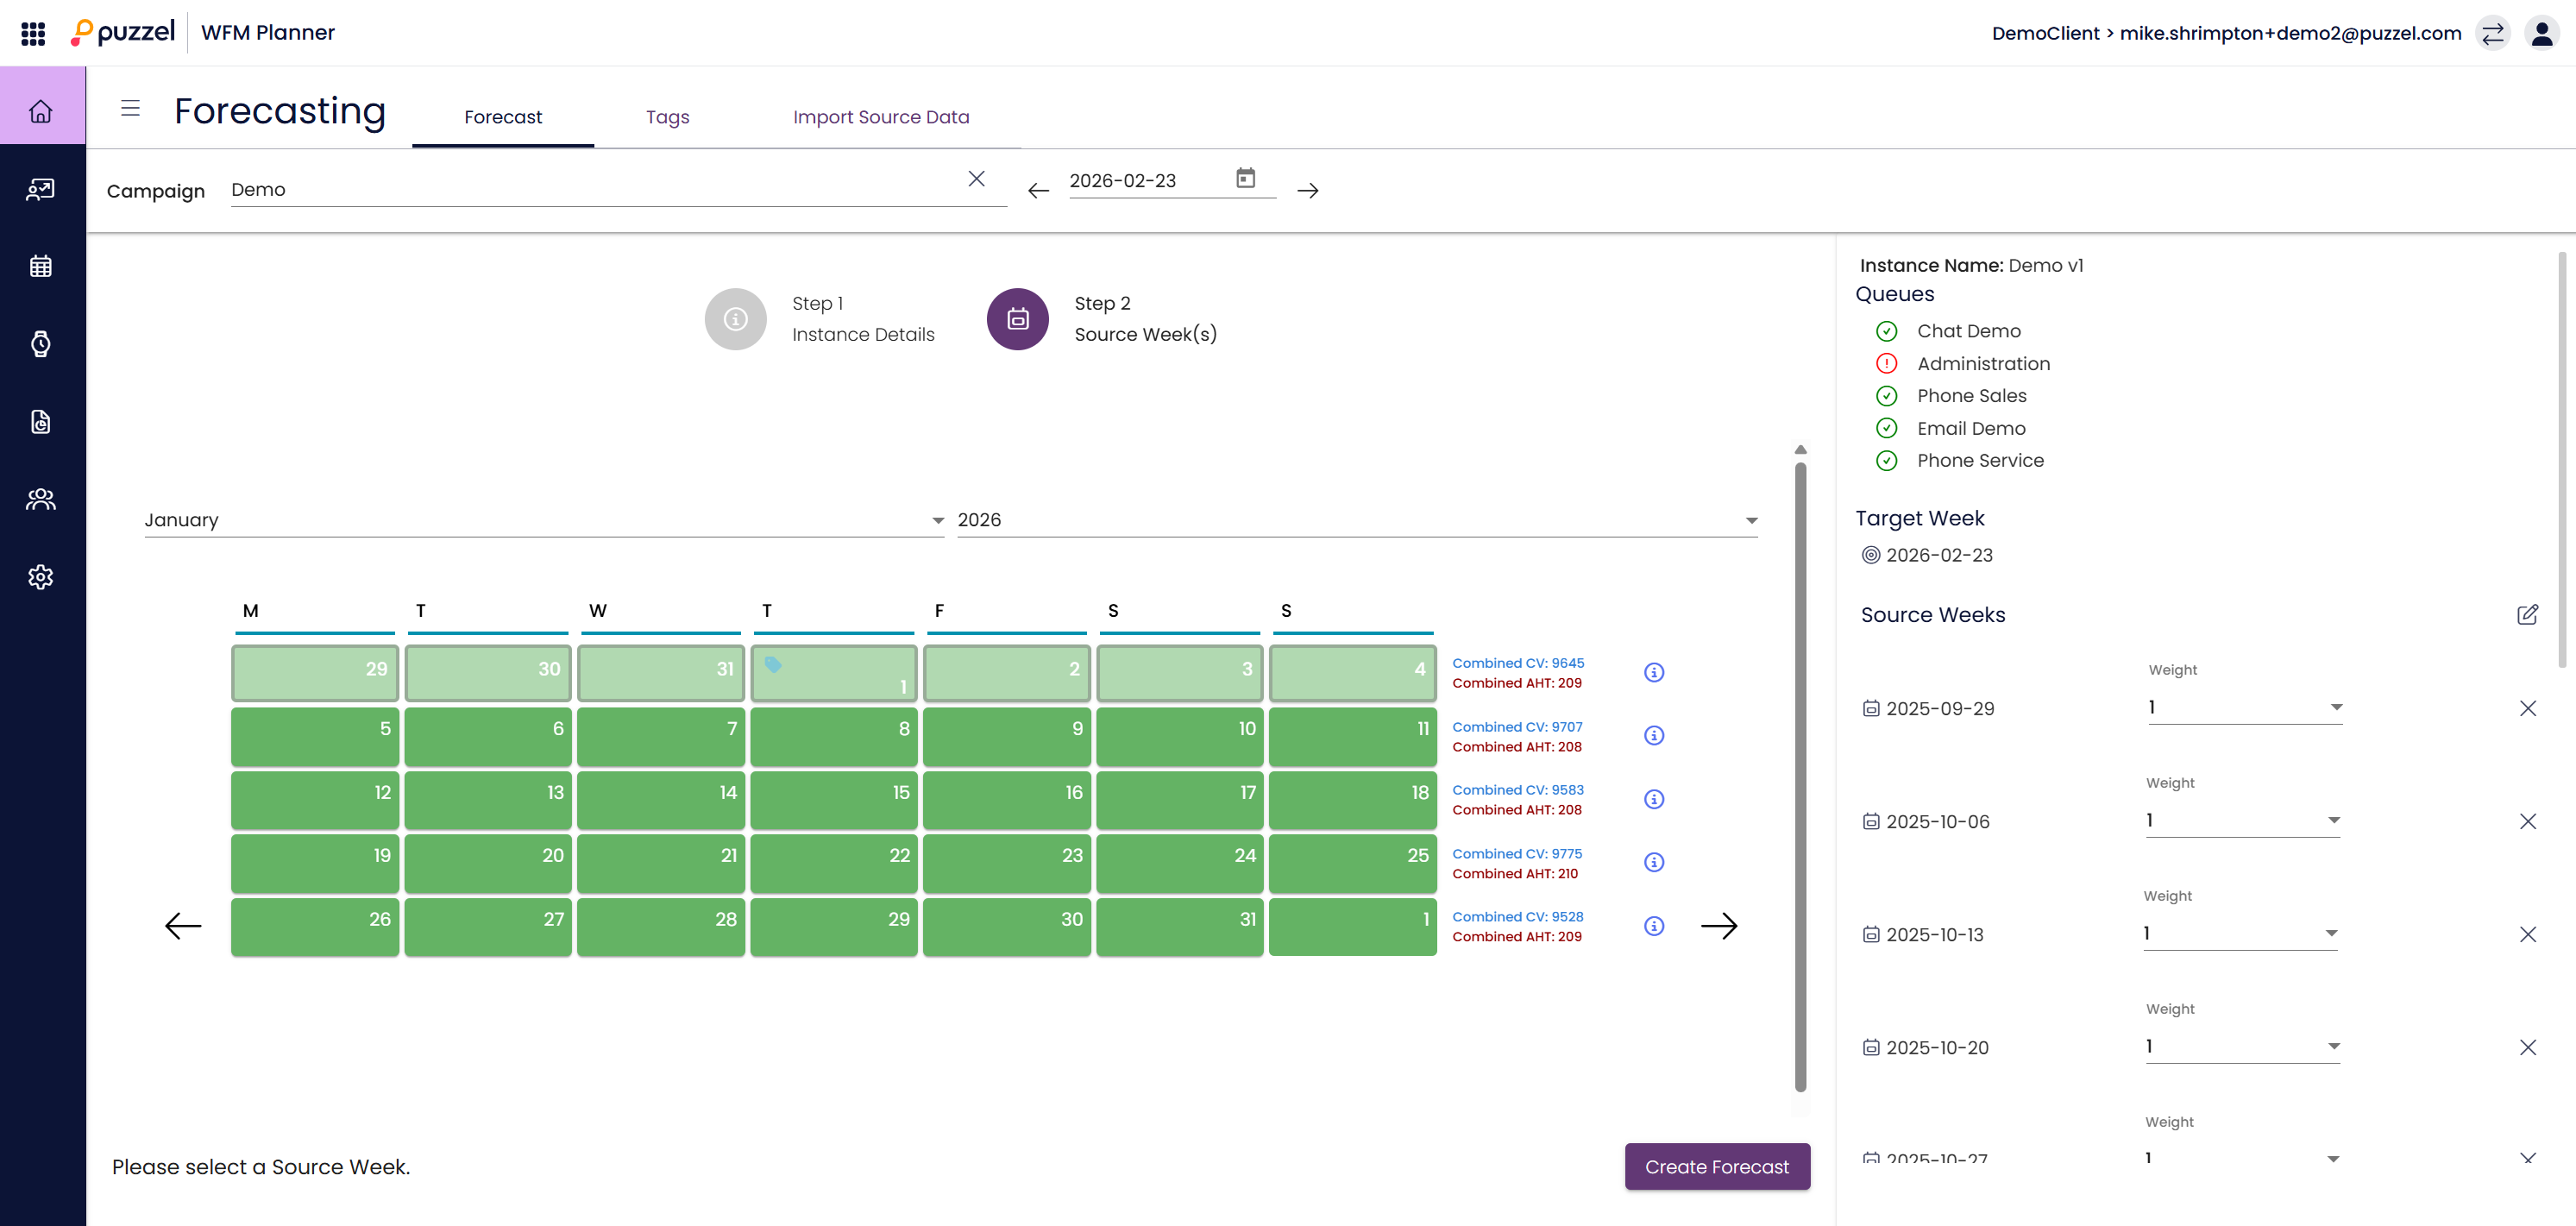
When configuration is complete, click Create Forecast at bottom right of screen.
Public Holidays & Non-Standard Contact Patterns
When you expect a day's contact arrival pattern to be different from usual, such as a public holiday, you should add a tag to that day for the relevant queues before creating a forecast instance.
- When forecasting for a day/queue with a tag, we will try to use the data from the last 12 days that have the same tag
- If there is no historical data with the associated tag, the data from the selected source weeks will be used as if there was no tag on that day/queue
Low Volume Queues
To make sure we get reasonable forecasts for low volume queues, we scale the interval values for each queue so that the daily forecast is equal to the average daily volume for that queue/day
Outliers
Assuming there is enough source data to do so, the highest & lowest volume for each interval is discarded before the data is aggregated. As such, "one off" spikes in volume will not affect your forecasting.
Of course, if there are particular problems with a week of source data, you should exclude this from your forecast & consider applying a tag to remind you of this issue in the future.