
CSV Ticket Export
Users with access to the Bulk Update tool can select a bunch of Tickets on the Tickets page to export. The export is received as an attachment to the User’s email address.
To export a specific range of tickets,go to the Tickets page, use the Ticket Attributes widget to filter the Tickets List for only those Tickets you wish to export.
For example, for a CSV export of Customer Service Tickets from Last Week, start a Search Filter for “Team: Customer Service” & “Time Period: Last Week“.

Select the Categories tab to search for Tickets with specific Category choices applied. For example, “Query Type: Complaints” to export call Complaint tickets. This search filter is applied alongside the Ticket Attributes search filter.

This Search filter can then be saved for future use. Simply click the blue save icon next to the Saved Searches drop-down to save the search filter currently applied.

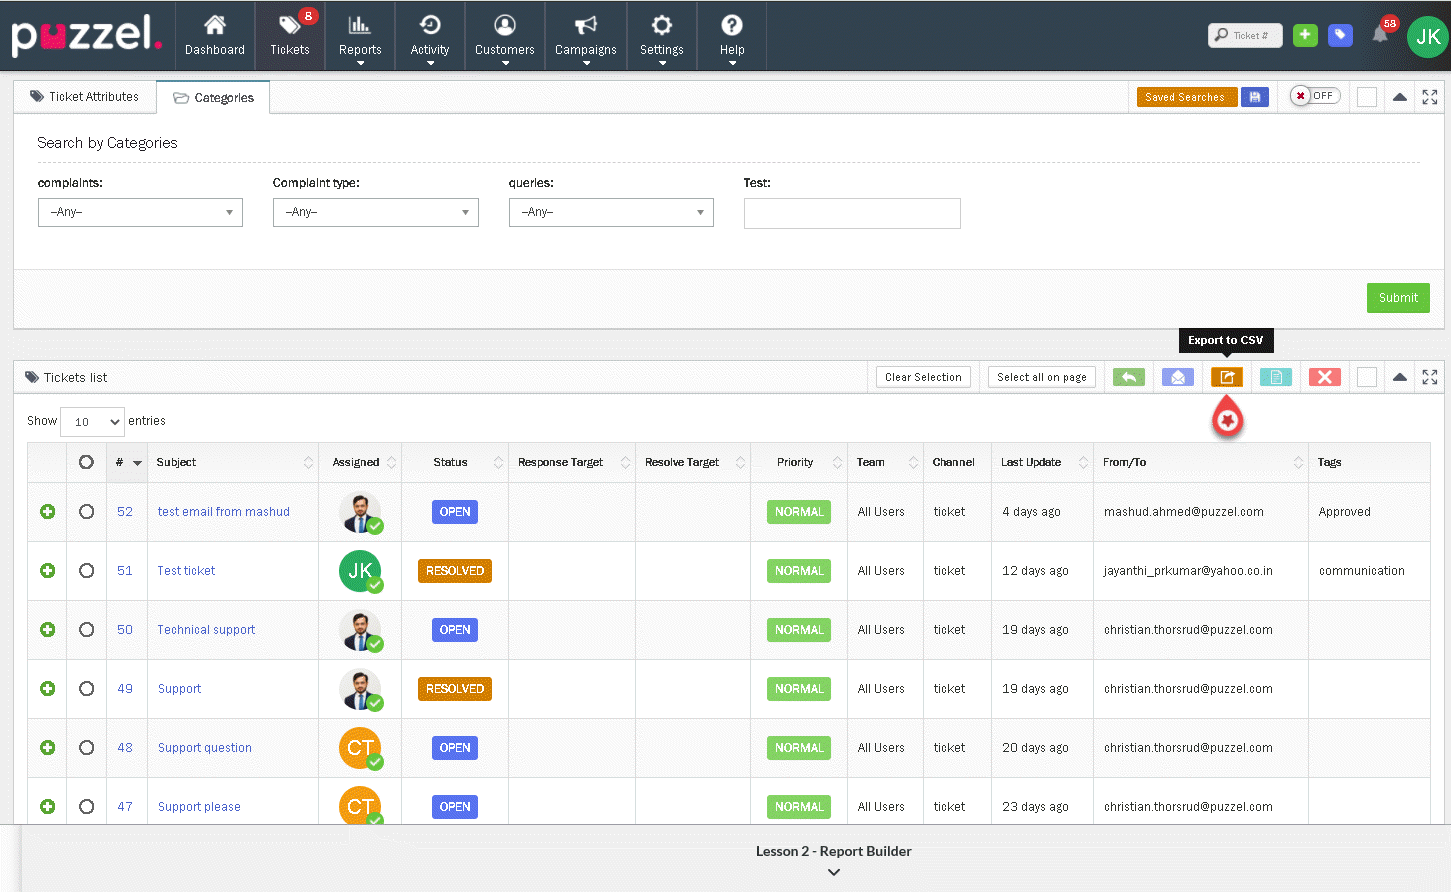
You can bulk select all Tickets on the page by selecting the Checkbox column header to the left of the Ticket number Or select specific tickets to export by selecting each Ticket in turn.You can select Tickets across multiple pages if required.
Once all Tickets you want to export are selected, select the Export to CSV option from the bulk update tools. You can only export Tickets you have selected.
You will then be given the option of which columns you want to include in your CSV export. These columns include all of the available columns for the Tickets List, including columns not currently shown on the Tickets List.
All Categories are also available to select as Columns for the CSV export. You can select as many or as few columns as required.
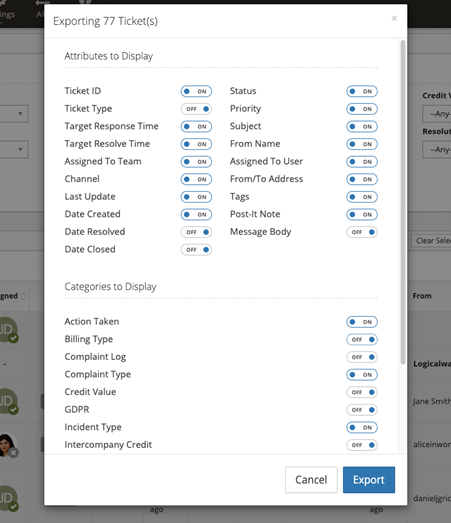
Click on Export to create and receive your CSV Ticket Export.
You will then receive an email with a CSV attachment to your User email address. This can take a few minutes to arrive depending on the number of Tickets you have selected to export.