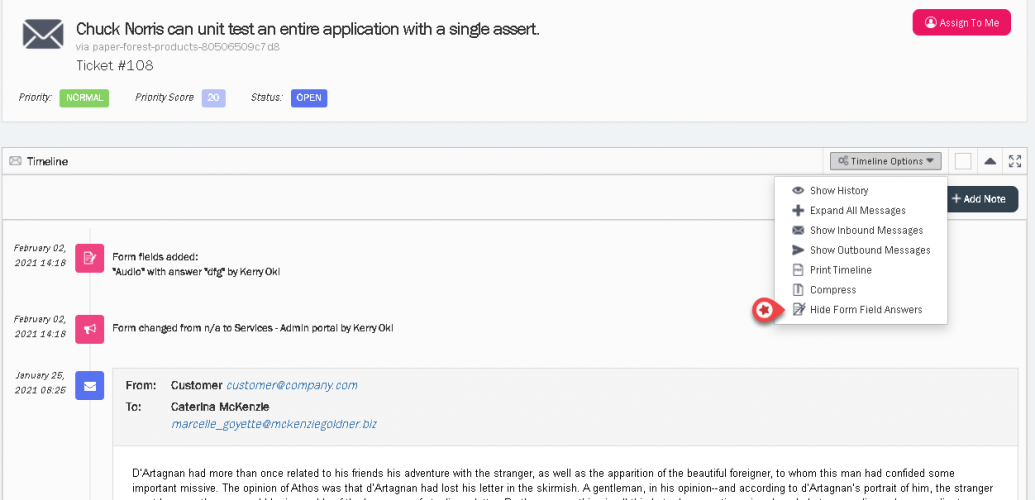
Forms and Form fields
Ticket form is a set of predefined ticket fields that serves a specific support request. These bits of information give the agent a deeper insight into the support ticket and enables them to resolve the ticket quickly.
The forms and form fields can be also be used to filter the tickets so that it can all be listed and dealt with swiftly and efficiently.
You can create multiple forms to suit different support requests. For example, you can create different forms with different fields for different products/services.
Creating a Form
To create a new form, you need to:
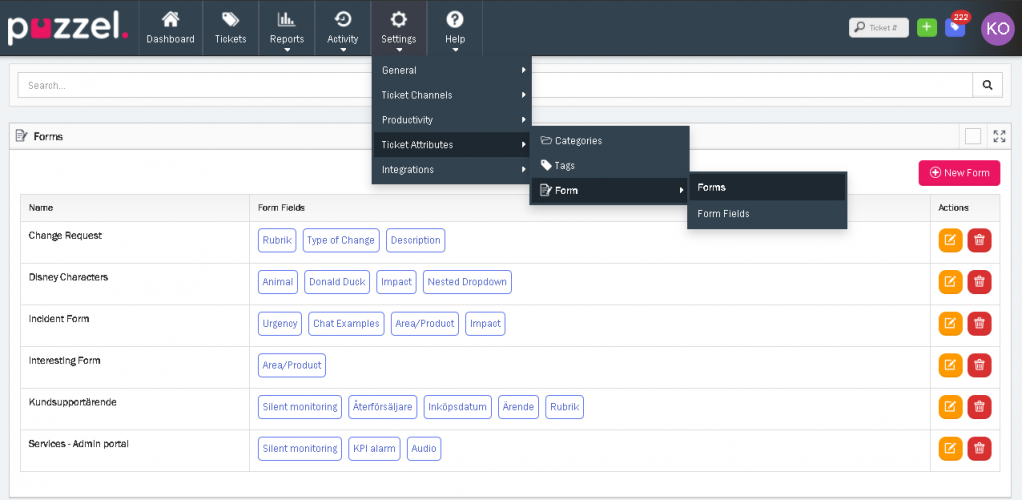
- Click on Settings->Ticket attributes->form->forms. This will display the list of all forms currently available. Please note that this space could be empty to begin with
-
Click on the
 icon to create a new form.
 -
Enter the name of the form and select the teams that are allowed to use this form and click Save. This takes you to the Edit form screen where you can add the form fields.
-
Note that the Name and Associated team is auto populated from the previous screen. You can now choose the fields from the available list or create your own. Please see the Form fields section for more details on creating a form field. To use the existing one, scroll through the list and click on it or search for the field name from the search bar and click on it. Note that this list will be empty to at start.
-
Click Save.
Form Fields
Form fields are individual parameters in a form. The properties of each of these form fields are set at the field level (not the form level). Hence a form field's properties will remain the same in all forms where these fields are used.
Adding fields to forms
You can add fields to existing forms or to new forms being created. There are three types of form fields as listed below:
- Free text
- Drop-down
- Nested drop-down
Free text field
This field will allow you to add some notes or description about the ticket. To add a Free text field, click on ![]() icon which opens a dialog box on the right.
icon which opens a dialog box on the right.
Enter the Label name and help text for the field if needed. You can also make this field mandatory by selecting Required option.
Drop-down field
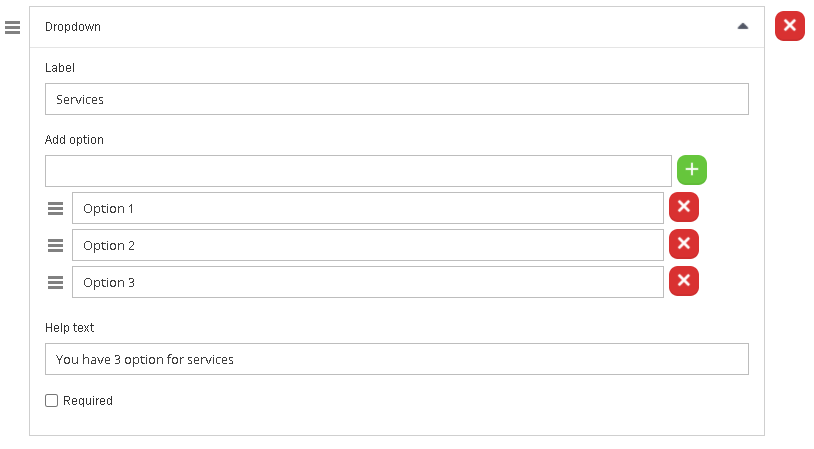
You can create a drop-down list with options for an agent to choose from. To create the drop-down field, click on ![]() icon to open the Dropdown dialog box on the right.
icon to open the Dropdown dialog box on the right.
Enter the Label name and the option name in the Add option box and click on . You can add more options to create a list. Provide the help text to explain the list if necessary and select Required if the field needs to be mandatory.
You can also arrange the options in the list by dragging the ![]() icon against the option you want to move.
icon against the option you want to move.
Nested Drop-down field
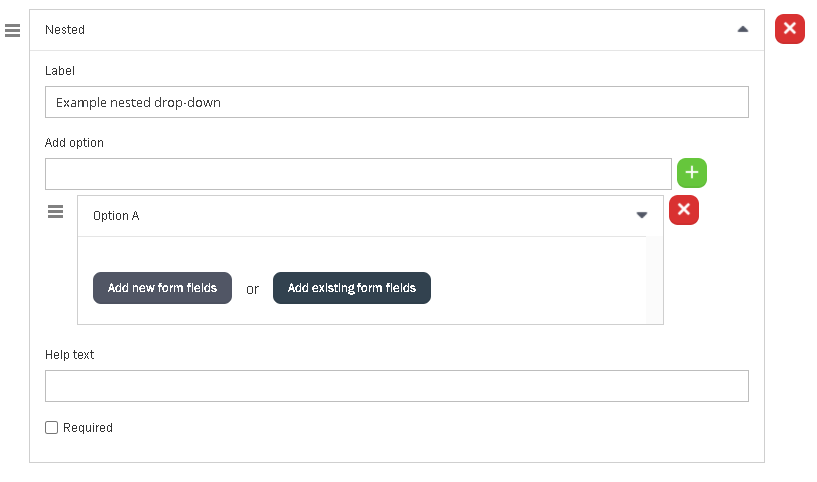
You can also create a nested drop-down field by clicking on the ![]() to open the Nested dialog on the right.
to open the Nested dialog on the right.
Enter the Label and the option name in the Add option box and click on ![]() icon . This gives you further opportunity to add fields that are nested inside Option A.
icon . This gives you further opportunity to add fields that are nested inside Option A.
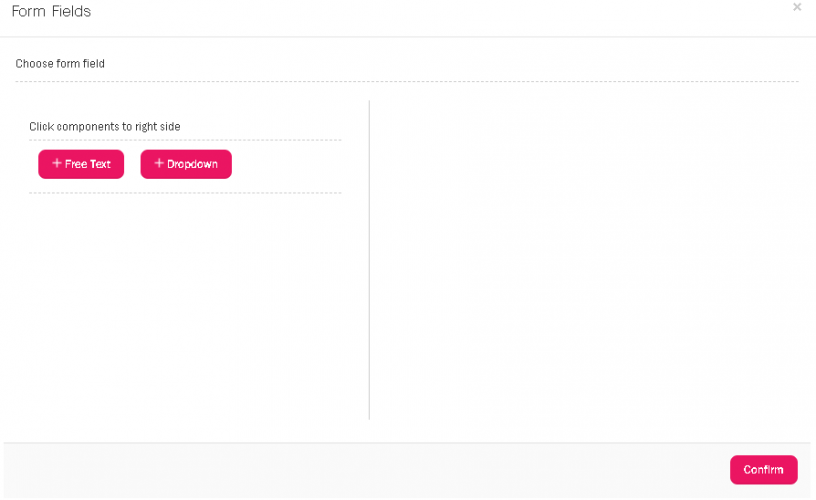
You can either create a new field or select from the existing ones in the system. By clicking to add new fields, it opens the Form fields screen where you can add Free text or drop-down field. Click Confirm.
Filtering tickets on forms and form fields
You can filter tickets based on forms and/or form fields. Go to Tickets page and select Forms tab at the top. Enter the form/forms name and/or field name you wish to filter and click Submit. This will display a list of all tickets that satisfy these criteria.
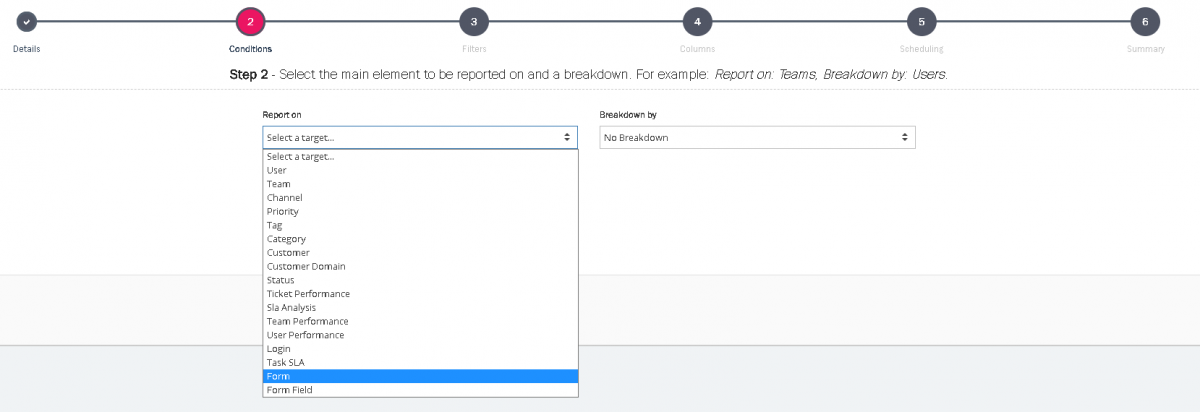
Creating reports using forms through report builder
You can now create reports in the Report builder using the Form and Form field elements. For more details, read the article on creating a report using a report builder.

