
Adding a WhatsApp Source
Puzzel supports WhatsApp as a Social Media Source. This is similar to all other sources, in terms of UI, usage and functionality.
Prerequisites
In order to successfully setup a WhatsApp Social Media Source, it is necessary that one completes a few additional steps. This is since this specific channel uses a third-party API, from Nexmo/Vonage, which needs setup steps of its own. The general flow for this type of channel is depicted below:
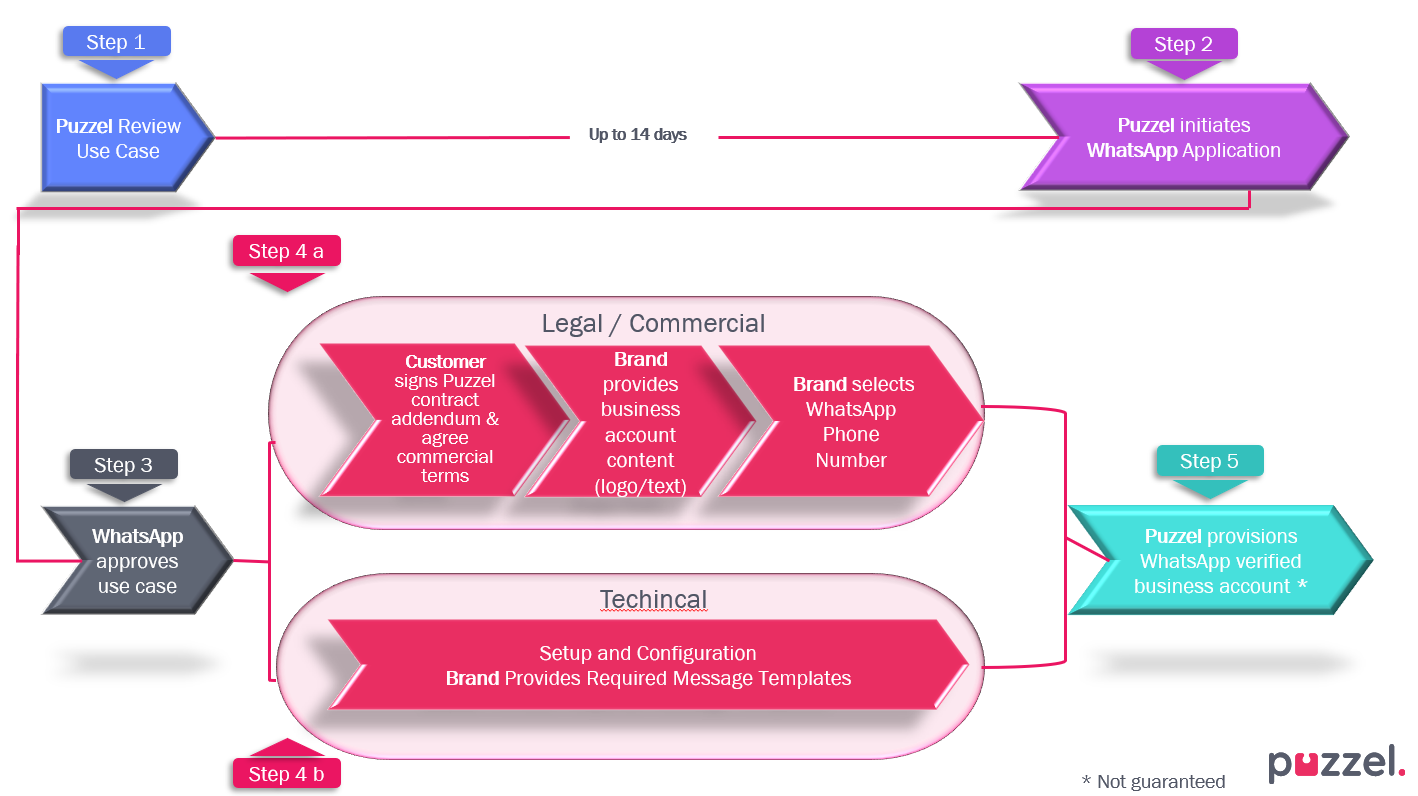
The process is assisted by Puzzel and reviewed/approved by a third-party API provider. Once the process is complete, it is very straightforward to setup a new Social Media Source in Admin.
During implementation Puzzel will setup the necessary application, phone number for WhatsApp and credentials such as API key and API Secret, as provided by Nexmo/Vonage.
Adding a New Source
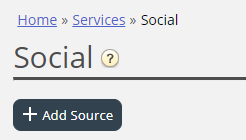
Adding a WhatsApp Source is not different from adding any other Social Media Source. As a start, one needs to log into Puzzel Admin and navigate to Services -> Social. This is where all the Social Media Sources are listed. To add a new one, simply click on the Add Source button:
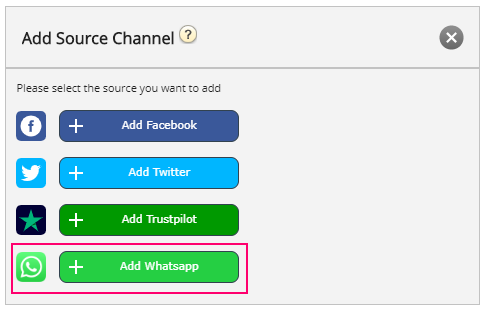
This will show a popup with all available Social Sources, where one needs to choose WhatsApp:
Once you click on the "Add Whatsapp" button, you will be shown another popup, which would require information about the new source. It looks like this:
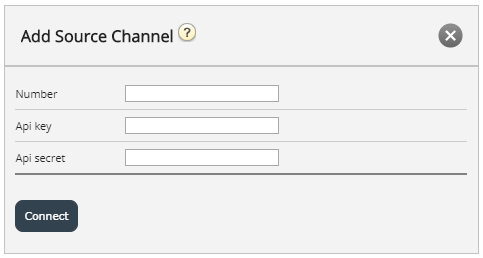
The popup form has the following fields:
- Number – here you enter the phone number, to which a user can send a message [[as per the setup in the partner portal Nexmo/Vonage]
- Api key – this is the Api key, which will be given by Puzzel [as per the setup in the partner portal Nexmo/Vonage]
- Api secret – this is the api secret value, which will be given by Puzzel [as per the setup in the partner portal Nexmo/Vonage]
Once these fields are filled out, you can click on the “Connect” button at the bottom of the form. This takes you to the last step of the configuration, which looks like this:

It consists of three distinct fields:
- Select Service – this drop-down allows you to choose the Service number, which one usually does not need to change.
- Select Queue – this is the option to configure the queue, to which the messages will be sent.
- Description – here you can add a meaningful textual description for the Source.
Deleting a Source
Deletion of a Source for WhatsApp happens in two steps.
Step one is deleting the Source from the Admin section, as demonstrated below:

- Additionally, contact Puzzel support for removing the application and credentials setup in the Nexmo/Vonage dashboard.

WhatsApp Templates
Introduction
If a customer starts a conversation with a business and 24 or more hours expire, before a business can process this message and respond, the business can only send, in reply, a special pre-approved template. The template itself is a standard textual message, with the option to enter some parameters, such as the customer name.
Template Approval
As mentioned earlier, each template needs to be approved, in order to be successfully sent and accepted by the API. The template approval process will be part of the Puzzel onboarding process. Steps around the approval of templates will be part of a larger set of steps for onboarding, which Puzzel will perform in sync with the business.
The steps around defining a template and its approval are summarised below:
- Define use cases for templates
- Define text and content for template(s)
- Apply for approval through WhatsApp
- Define approved templates in Puzzel admin
The list above is neither final, nor exhaustive. It is important to look at this list as part of the onboarding process and check for updated requirements.
Subsequent management of the templates can be managed by an admin user having access to the WhatsApp Business Account.
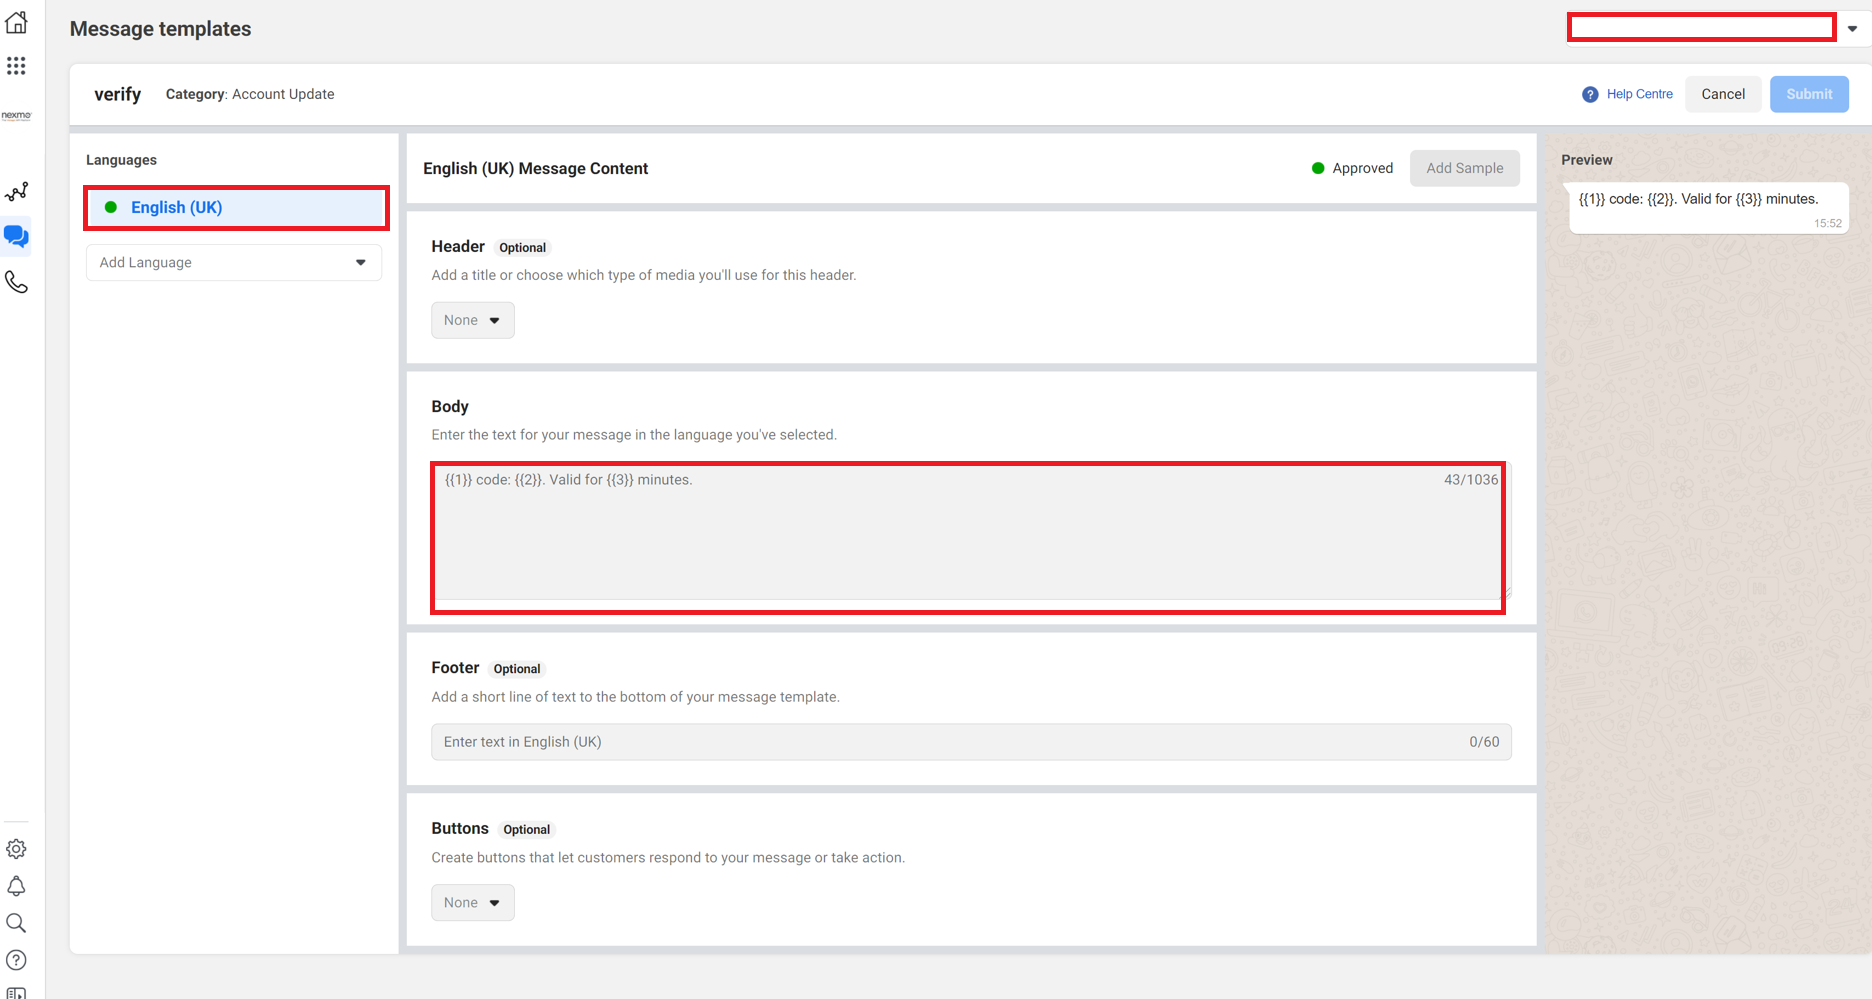
Navigate to WhatsApp Manager -> Message templates
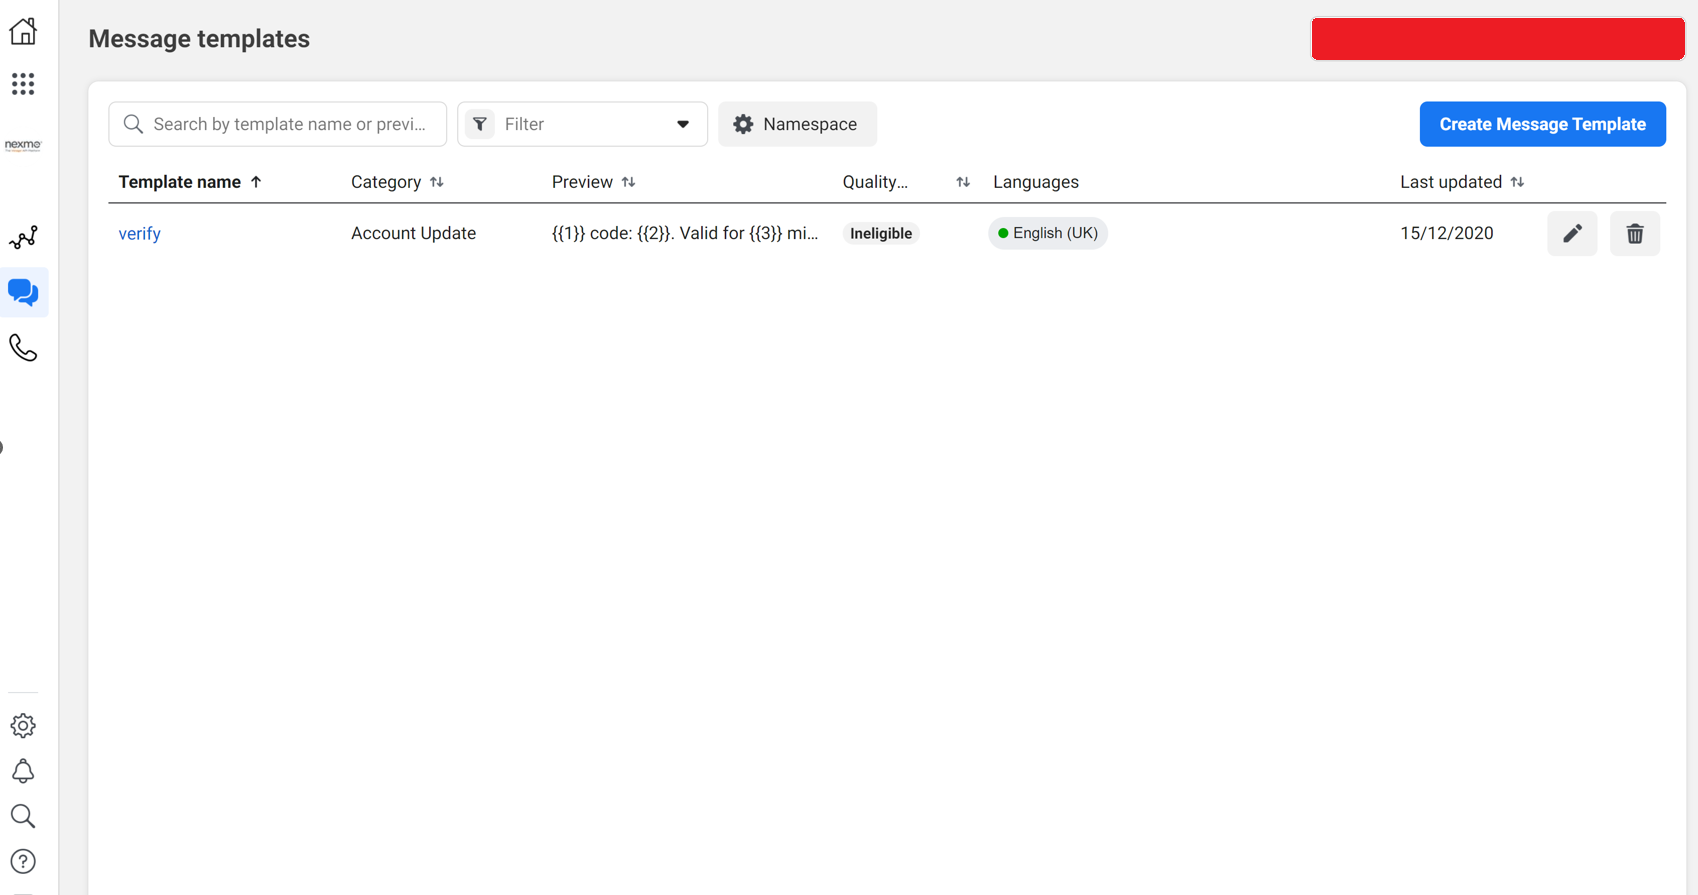
Add appropriate language and body of the template with relevant placeholders and submit for approval.
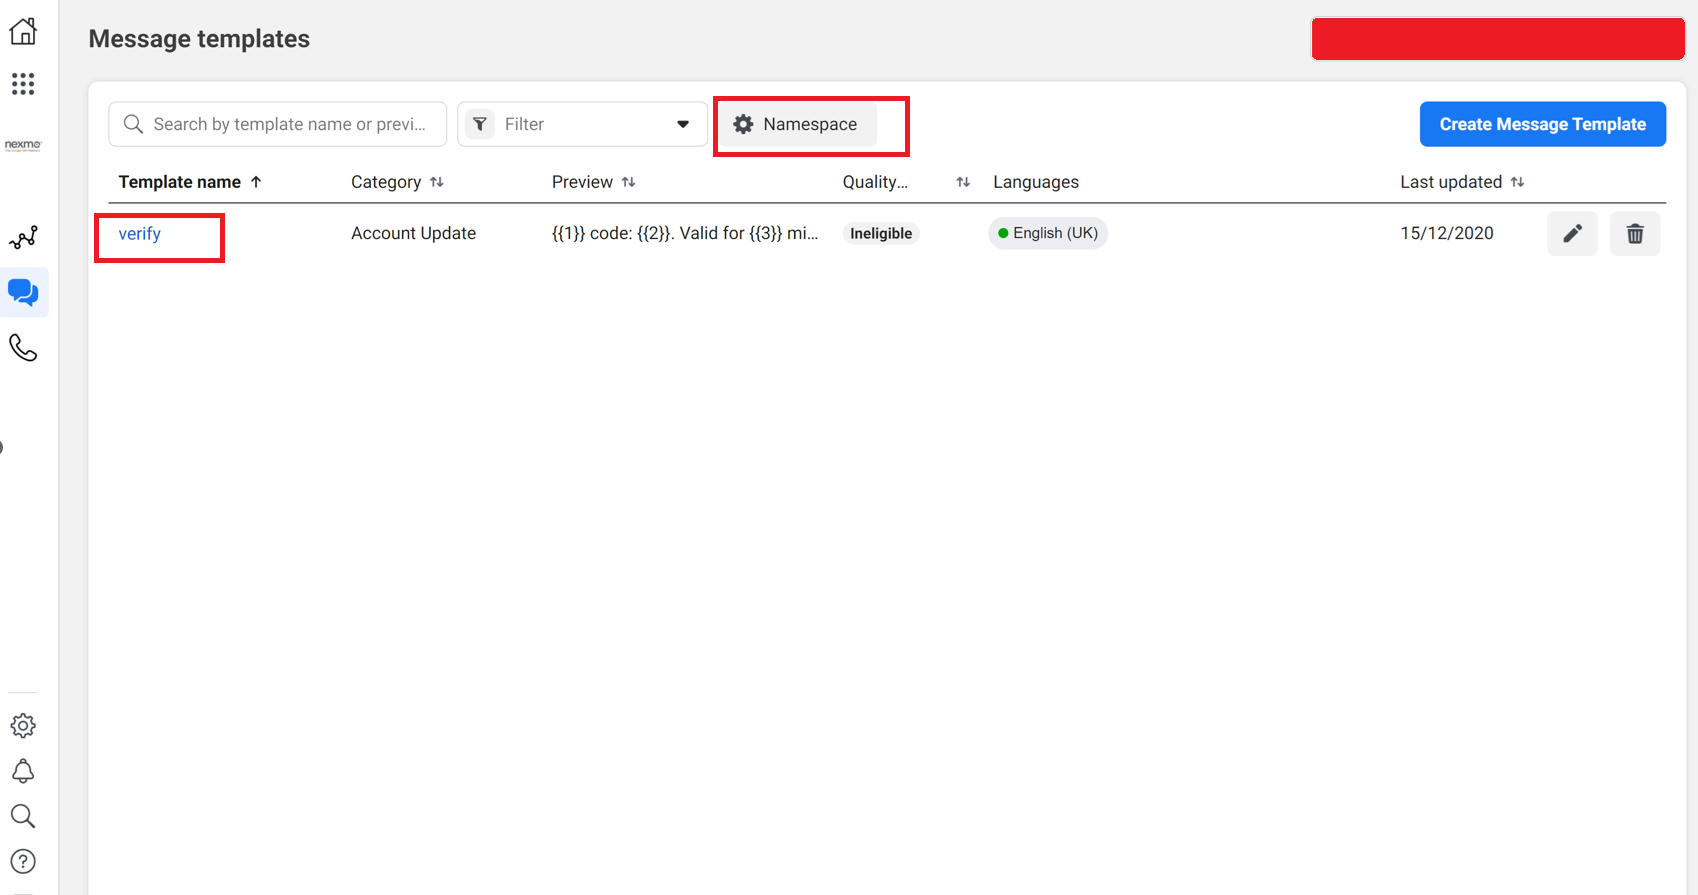
Once approved, you will need the namespace fro the template as well the name of the template to add to Puzzel Admin for use by the agents.
Defining Templates in Puzzel Admin
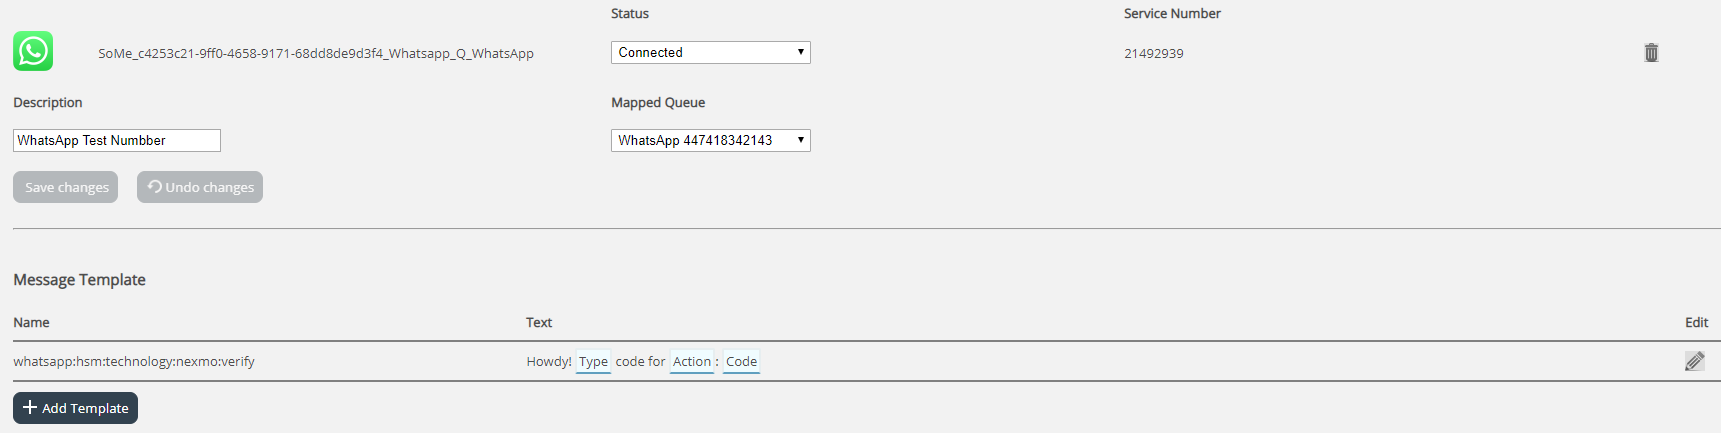
Once you have some approved message templates these can be defined in the area where a WhatsApp Source is defined in Admin, under Services -> Social:

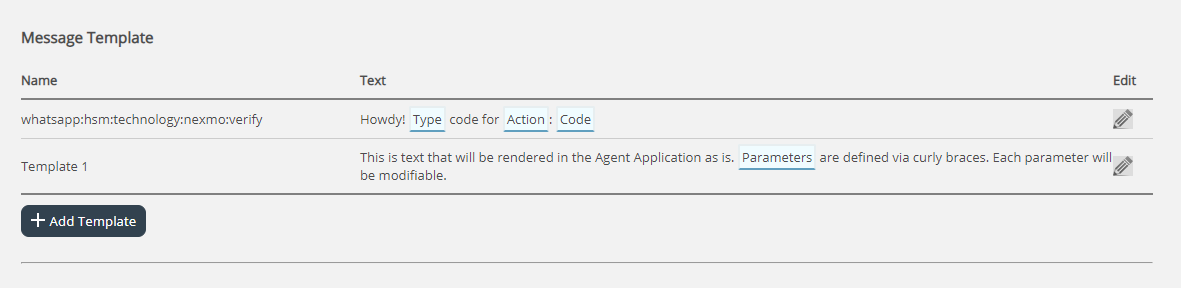
Under each WhatsApp source, defined in Admin, there is a list of existing templates, or if there are no templates defined an + Add Template button. This looks like this:
To add a new template, follow the steps defined below:
- Click on the + Add Template button
You will be shown a prompt like this one:
- Under Name enter the name of the template that has been approved in your WhatsApp Manager (https://business.facebook.com/wa/manage/message-templates) in the following format: namespace:template_name. This will determine the text that will be shown as template identifier in both admin the Agent Application, when an agent is offered the collection of templates to choose from. The Name can only contain lowercase alphanumeric characters and underscores ( _ ). No other characters or white space are allowed.
- In the Content field, enter the text of the template. This consists of two elements:
- Standard text this is free text, which you can enter, representing the text, which will be shown as is in the Agent Application, for the agent.
- Parameters sections of the text, which will be editable by the agent. These are portions of the text, enclosed in curly braces. For example, in the text:
Dear {Customer Name}, thank you for contacting {Company Name}
both {Customer Name} and {Company Name} are parameters.
Language (Locale):
It is important that both name and locale matches what you have created in your WhatsApp Business Account (WABA). The locale syntax must match the specifications defined by IETF language tag
Examples:
Locale
BCP 47 code
English
en
British english
en-GB
American english
en-US
Once a template has been defined, it is rendered in the list, with its parameters highlighted, as shown in the image below:

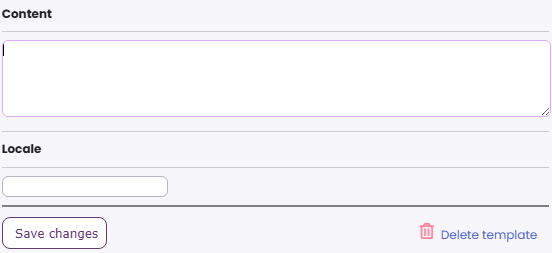
To edit an already existing template, simply click on the edit icon, next to it. This will open the template in edit mode, which looks like this:

Here you can see all the elements defined previously the Name of the template, as well as its Content. Again, you need to follow the syntax for defining the free text, as well as the parameters. Once you are done editing a template, you simply click on the Save changes button. Alternatively, you can click on the Delete template button, to delete it.