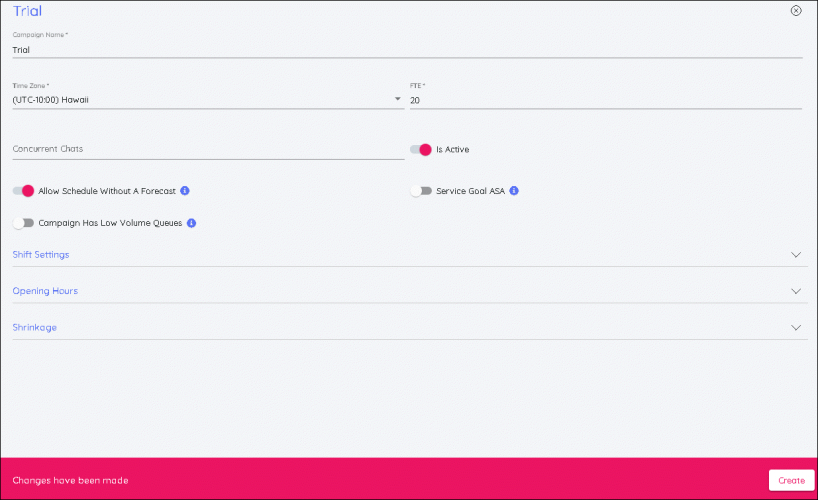
Creating campaigns
To create campaigns, you need to :
- Click on the Settings option in the left panel screen, then choose Campaign & Sites in sub menu.
- Click the + button at the bottom right of screen.
- Fill in the details as required:
- Name the campaign
- Choose the Time zone
- Click the slider to ensure ‘Is Active’.
- Enter How many hours/weeks worked by an agent is equal to 1 FTE (Full Time Equivalent).
- If forecasting and scheduling for Chat, then enter the number of concurrent chats agents within the campaign can handle simultaneously.
- Enter the Campaign Opening Hours. Any closed days should be ticked.
- If Shift Swapping is allowed for this campaign, click the slider to switch it on.
- Enter notice period (days)
- Enter max agent requests (per week)
- Choose setting that agents can swap with
- All Skills Must Match
- One Skill Must Match
- No Skills Must Match
- Choose setting for if agents can swap shifts if other activities have been scheduled (such as Training, Meeting etc.)
- Enter the Shrinkage % that is the allowance for the campaign.
- Shrinkage is anything that takes time away from agents working on the campaign. (Holidays, sickness, meetings, training, etc.) This should only be for unplanned activities.
- Click ‘Create’ when all information is correct.
These details can be edited at any time by making changes and clicking Save.

