
Standard reports
Here you will find all the standard reports your company has access to.
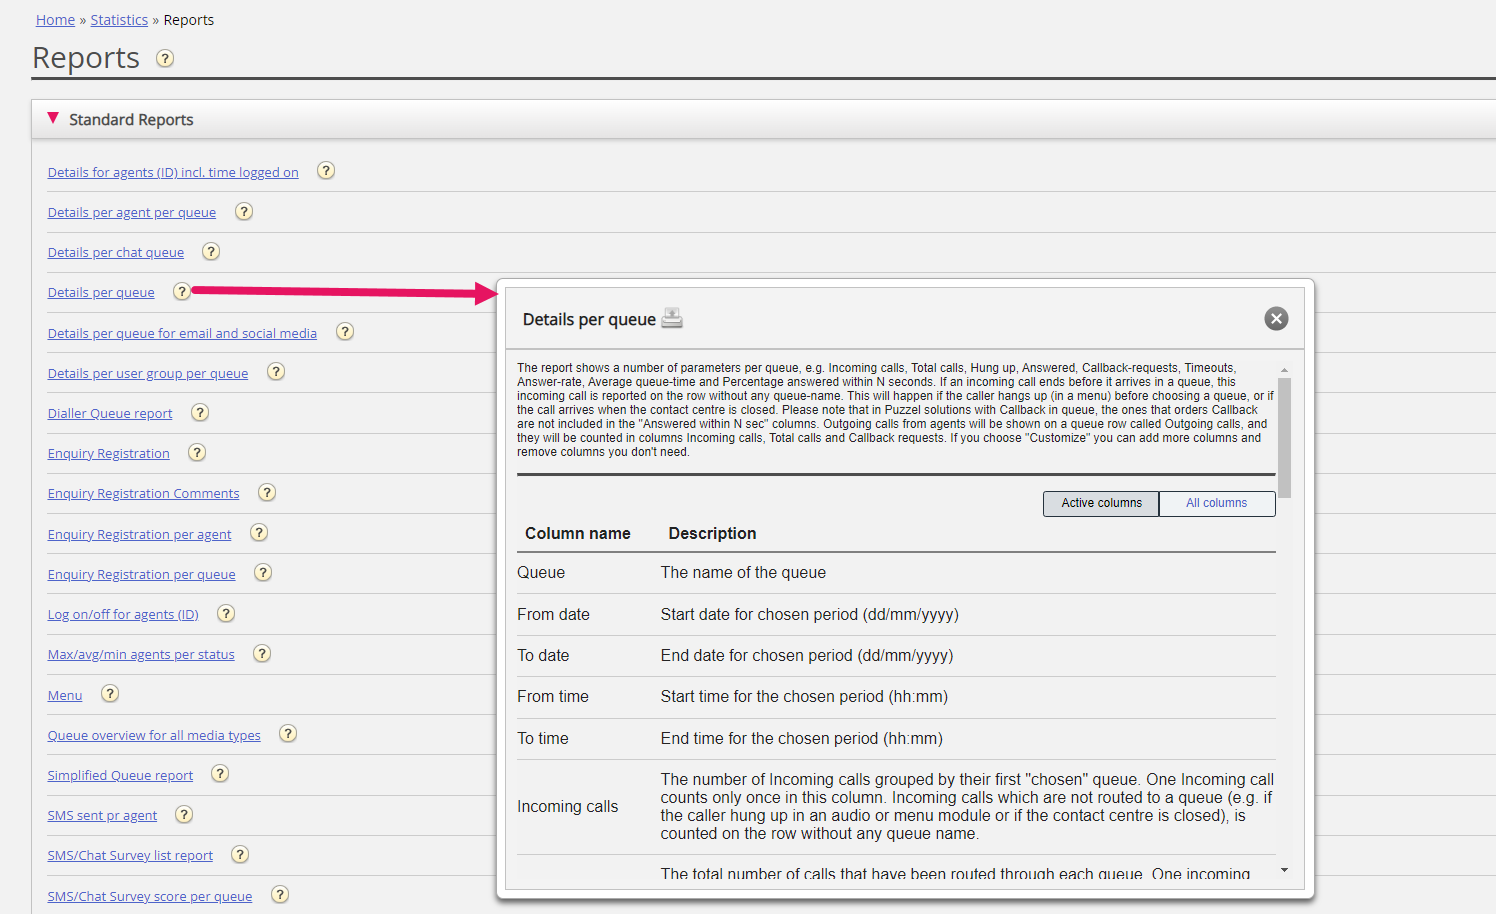
The question mark next to each report contains a complete report description.
We also recommend the Statistics section on help.puzzel.com, where we have described the different report levels, how callback is reported, and other topics: https://help.puzzel.com/product-documents/feature-guide/statistics
In statistics, calls and written requests are shown in the relevant system queue (not in Display queue).
Select the desired report to open a new browser tab where you can change parameters for the report. You can choose service number, time period and how your time elements are grouped e.g. by quarter, hour, day etc.

Defining Time Period
Defining a time period for a report can be done manually or by using the Time helper-buttons. The Time helper-buttons help you to select a time range quickly. There are buttons available for Day, Week and Month. You can browse through time periods by using the arrows next to the Timerange buttons and move between dates, weeks and months.

You can also choose to set the time period manually by typing it in, or by using the calendar which will appear when moving your cursor to the From or To field.
Statistics reports are as default stored for 1200 days unless another storage time is agreed. If you want to store agent reports (reports with numbers per agent) shorter than statistics on overview/queue level, contact Puzzel support so that we can configure shorter storage time for agent statistics (e.g. 365 days).
If your report is for a longer period than one day, you can use Limit time range to customise the time parameters for your report. You can generate a report only within your opening hours, e.g. Monday-Wednesday and Friday 08:00-16:00 and Thursday 08:00-18:00.

To do this, click on the Advanced settings link to open the Opening hours window, where you can configure the time range for each day.
First select time for From (08:00) and To (16:00), then click Specify days and adjust the time for the different days. Then click Apply, and finally tick in the checkbox for using the time limitations.

If you want to generate a monthly or weekly report for the night shift, you can do this by entering e.g. From 23:00 and To 07:00. If the From time (e.g. 23:00) is later than the To time (e.g. 0700), this is interpreted as if the To time is the next day.
When you have generated a report by clicking the View Report button, the report will appear and the Change parameter part is minimised. Hover over any column name and a description of the column will appear.
