
How to configure a date range
Under each tab there is a date range bar, where you can identify which period you would like to see reports for.
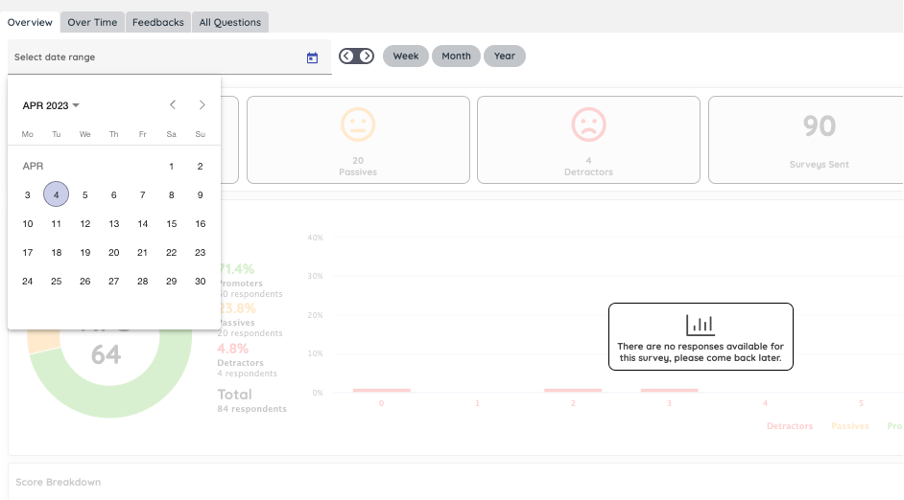
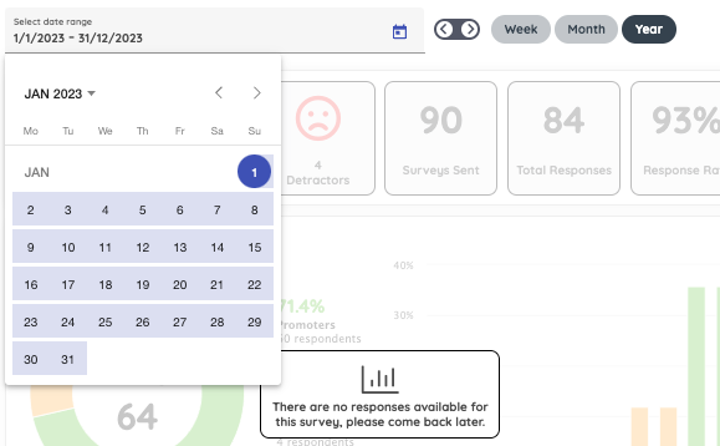
If you click on the calendar button next to the “Select date range” field, a drop-down calendar will appear. This allows you to insert a customer date range.
Alternatively, you can choose one of the options:
- Week
- Month
- Year
for the respective periods to appear.
The left to right arrows can be clicked to move to the next period, which will be dictated by the Week/Month/Year buttons.
For example, if you have the 1/1/2023 - 31/12/2023 period selected and the Year option is clicked, the arrow to the right will change the timeframe to 1/1/2024 - 31/12/2024.
Video Tutorial
Watch our video tutorial on how to configure a date range below: