Inbox
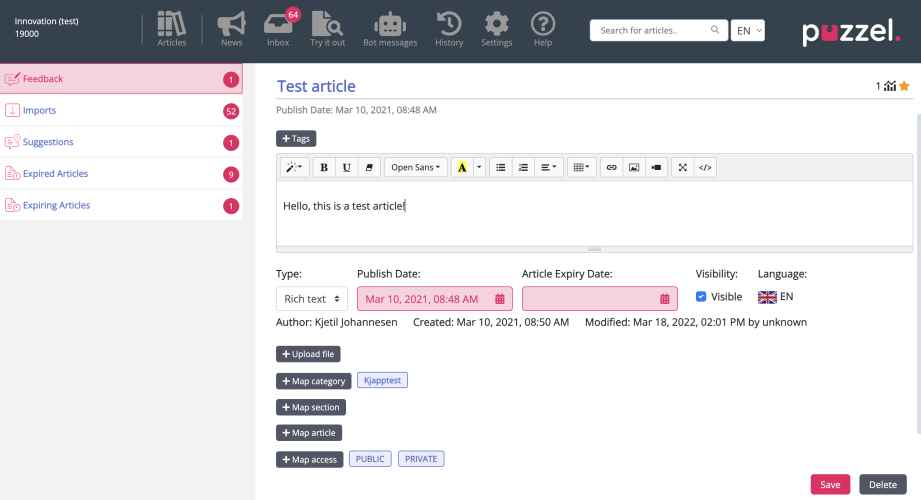
The Knowledgebase article suggestions and feedback from the agents will be sent to admin for approval and are listed under Inbox as shown below.
To view and approve the suggested article:
- Click on Suggestions and then the article you wish to approve. This opens the article in the editor.
- By default, plain text editor will be selected. Click on the drop-down menu of the Type attribute and select Rich Text. You will now be able to see the tool bar at the top. This will allow you to embed images directly from the clipboard without having to save and insert them into the article. You can also embed videos from different sources into your article. Edit the article for its content, add tags, publish it or schedule it for a later date, assign it to a category/section/article, attach a file and click on Save.
- You can now view the article listed in the saved category.
Creating language articles
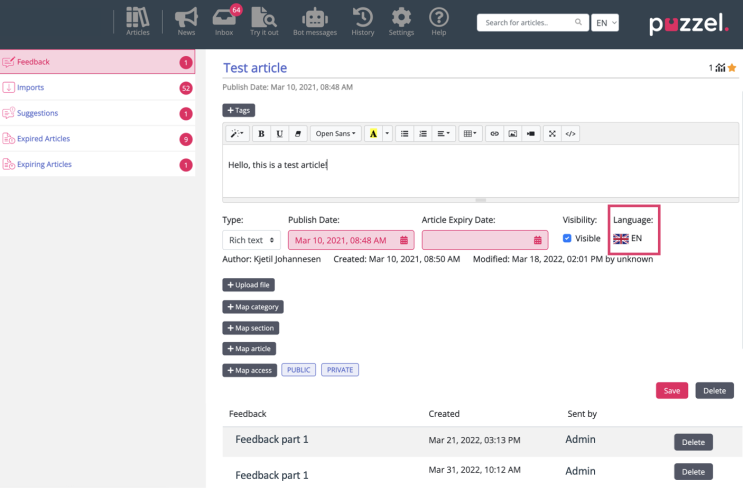
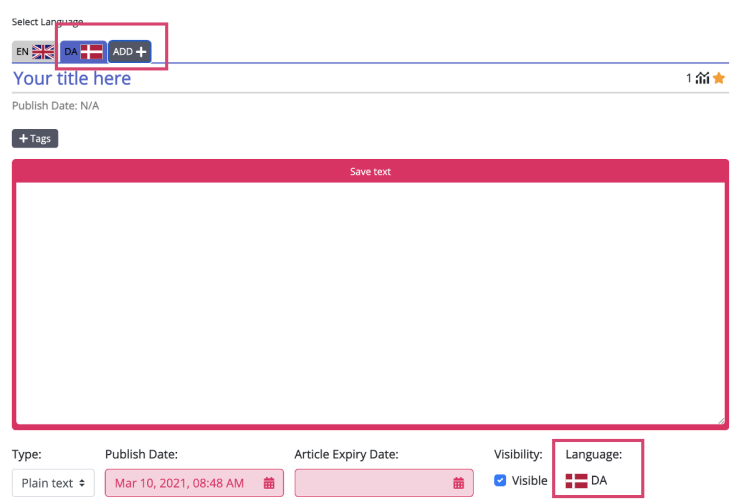
By default, the article will be created in the same language as the agent application interface, from where the suggestion was sent. You can create other language articles for the same content, by clicking icon at the top of the screen. This opens the editor for you to add content in the desired language. Note that some automatic tags are added to the article based on the content being added. You can add additional tags and save it.
Viewing Feedback
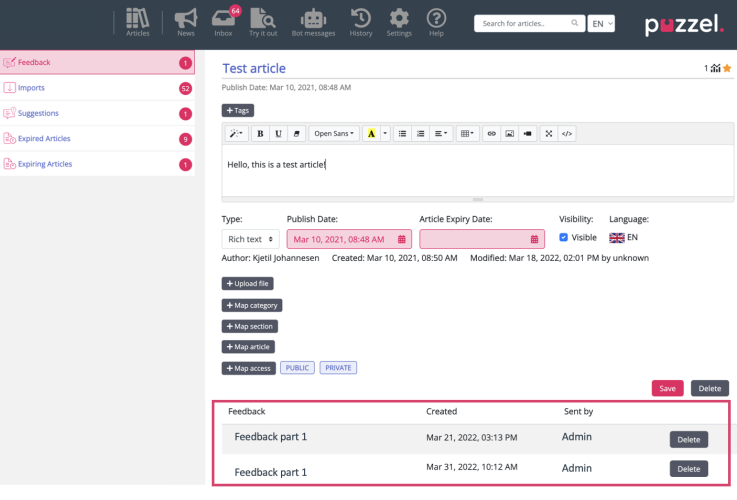
Administrators can now view a list of all articles containing feedback from agents in a new list view. By clicking on the article with a feedback, the article opens in the edit mode and the feedback related to it can be found at the bottom of the page. After the feedback has been reviewed it can be deleted using the delete button.
Adding Expiry Dates
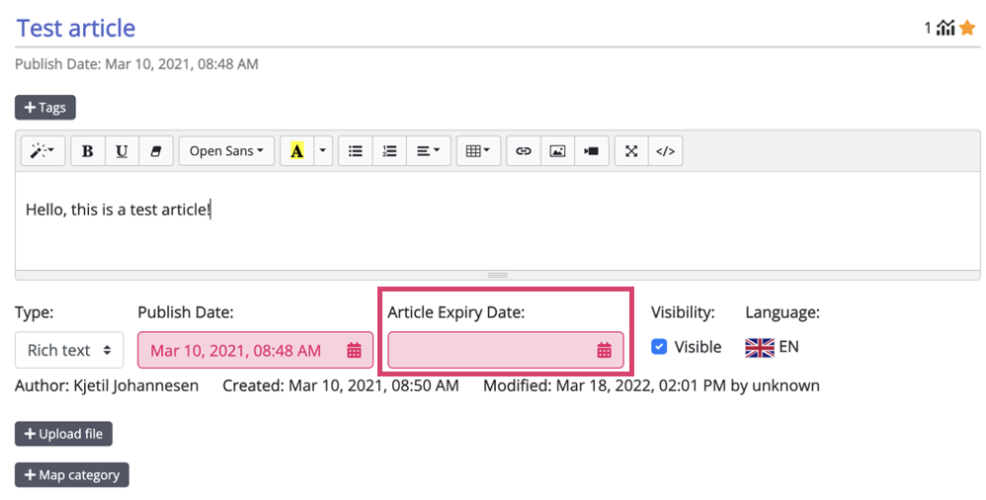
There is the option to add Expiry dates to articles, which can be found next to the Publish date.
The expiry date can be different for each translation of the article.
The menu items to the left of the screen below allow you to review articles with an expiry date configured:
Article Expiry Date: When editing an article, it is possible to add an expiry date. When this is passed, the article will then appear in the list of Expired Articles.
Expiring Articles: This section shows the articles that have an expiry date set for the future.


